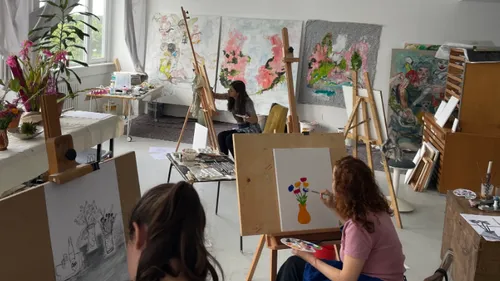
- Techniques for making a bowl: The thumb, coil and slab techniques are hand-building methods that allow you to make a bowl without a potter’s wheel.- In the tutorial, you’ll learn how to make a bowl using the thumb technique, step by step. - Every bowl is a one-off; small imperfections give the bowls a special charm.- Come along to my hand-building pottery class in Berlin and make your own pieces.
Want to try making a bowl and looking for simple instructions that are also suitable as pottery for beginners? Whether you want to make a cereal bowl, a fruit bowl, or a salad bowl with a little clay and creativity, you can create a truly unique piece in no time and start making your own pottery. Especially handy: You can make the bowl while doing pottery without a wheel.
How can I make my own bowl?
It is easier than you think to make your own ceramics. You can make a bowl on a potter’s wheel. But you can also create beautiful bowls using the coil-building technique when pottering without a wheel or trying other methods for pottery without a wheel. Discover 458 pottery class in Germany and Austria.
There are various building techniques for making a bowl, offering plenty of room for creative pottery ideas and clay modeling ideas:
- Making a bowl using the coil technique: Clay rolls are layered on top of each other in a spiral pattern and joined together.
- Making a bowl using the slab building technique: Clay is rolled out flat and shaped into slabs. These are cut to size and assembled into a bowl.
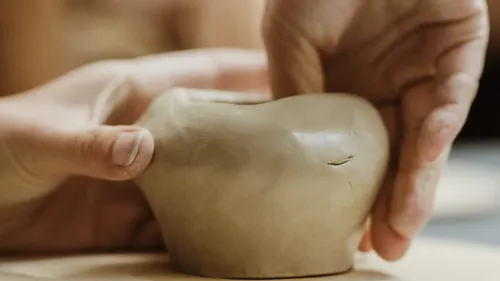
- Making a bowl using the thumb-printing technique: You form a ball of clay and press it into a bowl shape with your thumb.
In the instructions for making a bowl, we will use the thumb-printing technique in detail.
The difference between hand-building clay (used for any hand building pottery technique) and wheel-throwing clay is that hand-building clay contains a proportion of fireclay. The larger the project, the higher the proportion of fireclay in the clay should be, and consequently, the coarser the clay will be.
Wheel-throwing clay can also contain fireclay, though the fireclay is ground particularly fine. Since the potter’s wheel is operated with both hands, coarse clay mixtures can roughen the skin on your hands. That’s why it’s important to make sure the clay has a fine grain. Manufacturers usually provide a description of their clay. Take a close look at this when you want to buy clay. Then you can also determine what the clay is best suited for.
What materials do I need to make a bowl?
To make a bowl, you need clay. Depending on which technique you choose, you should select the appropriate clay. If you want to do pottery without a kiln, you can simply use air-dry clay for your project.
The difference between hand-building clay and wheel-throwing clay lies in the chamotte content: hand-building clay contains chamotte, though the proportion and grain size depend on the size of the project. The larger the project, the higher the chamotte content should be—and the coarser the clay.
Wheel-throwing clay can also contain chamotte, but in this case, the chamotte is ground particularly fine. This is important because coarse clay mixtures can roughen your hands when working on the wheel.
Therefore, make sure the clay has a fine grain if you plan to use it on the wheel. Manufacturers typically provide detailed information about their clay mixtures. Read this carefully to select the right clay for your project.
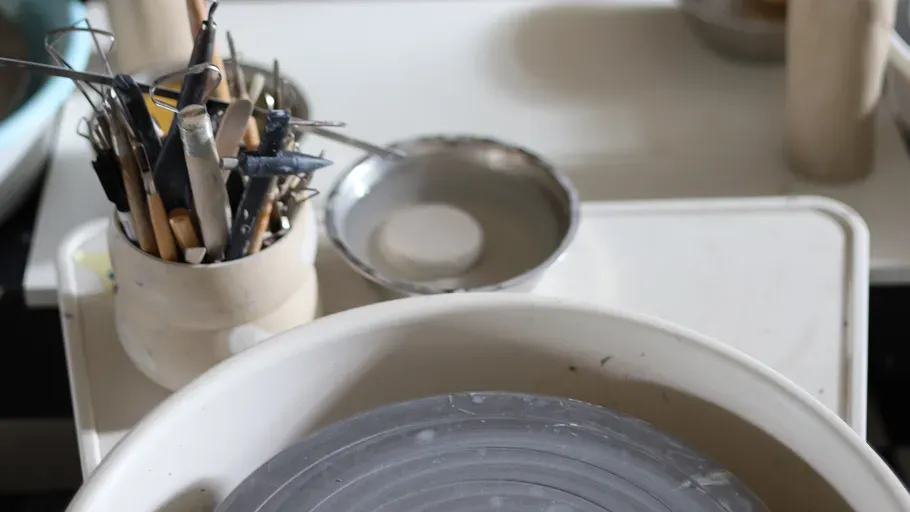
To make a bowl using the thumb-coiling technique, you will need the following tools (which are often included if you buy a basic pottery tool set or a complete pottery diy kit):
- A wooden board
- A knife
- A wooden or rubber turning wheel (optional)
- A wooden spatula (or your finger)
- A wooden spoon (optional)
- A sponge
- Water

Step-by-Step Guide to Making a Bowl
With this guide, you’ll make your own DIY ceramic bowl using the thumb-coiling technique.
Making a Bowl - Step 1
Take a handful of clay and knead it thoroughly on a wooden board. This removes any air bubbles and results in a smooth clay mass. The process is similar to kneading dough.


Pottery Bowl - Step 2
Shape the clay into a ball with your hands. To do this, hold the clay in one hand and tap it evenly with the flat of your other hand. Keep turning the clay until you have a smooth, even ball.

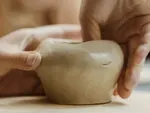
Making a Pottery Bowl - Step 3
Now place the clay ball in the palm of your hand and press the thumb of your other hand into the center of the ball. Be careful not to press all the way through to the bottom so that the base remains stable and your vessel has a sturdy bottom.


Making a Bowl - Step 4
Reach your thumb into the clay vessel and press your thumb and index finger together evenly to shape the sides of the bowl uniformly.
Apply the thumb technique from the bottom up, moving the bowl clockwise as you go. This will gradually form the shape of a bowl.


Making a Pottery Bowl - Step 5
If you want to shape the bowl evenly, you can gently tap the outer wall with a piece of wood to round it out. While doing this, hold one hand against the inside of the bowl.
The same principle applies to the inside of the bowl. Here, you can use a rubber or wooden turning wheel. If you don’t have one, simply use your fingers as a tool.


Making a Bowl - Step 6
To make the rim of the bowl even, you can use a knife; a sharp kitchen knife works well for this. Place the knife against the rim and carefully run it along the top edge to trim off the excess clay evenly. This will give you a clean and straight finish.


Pottery Bowl - Step 7
Next, smooth the rim with damp fingers and a sponge. If you want a particularly even finish, gently press the rim between your index finger and thumb to shape it even more evenly and roundly. However, small imperfections can also look charming and give your bowl a unique touch.

Your DIY clay bowl is finished!

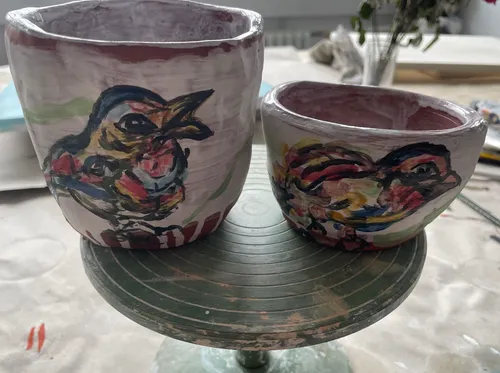
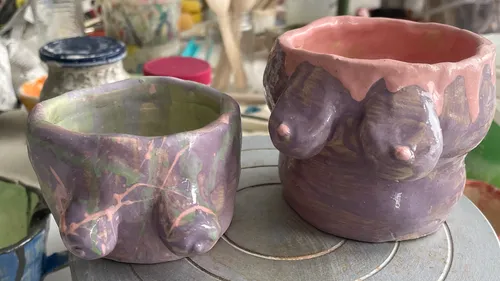
Here are a few examples from my pottery class for beginners: Finished, glazed bowls created by the students using the engobe technique. Each bowl is truly one-of-a-kind, and they also make wonderful pottery gift ideas!