- What do you need to model a clay head? To model a head out of clay, you'll need clay, a stable surface, modeling tools, and household items like a knife and fork.
- What material is best for modeling? Clay is ideal for modeling since it's moldable and stable at the same time.
- Model your own head: Model your own head at the modeling workshop in Cologne with Katrin Kleinau.
Modeling a head out of clay is a fascinating art form that appeals to both beginners and advanced artists. With a bit of patience and the right techniques, you can freely sculpt impressive clay figures, from realistic portraits to abstract interpretations. Here you'll learn which materials you need, how to proceed step by step, and which tips will help you model your own clay head.

Source: Image from Katrin Kleinau's classes
What Material Is Best for Modeling?
Clay is the ideal material for modeling a head and face. Clay is easy to shape, add to, and remove, making it perfect for detailed work. Mistakes can be corrected without issue, and once dry, the clay can be painted in various colors. Clay is especially the right material for beginners looking to try their hand at sculptural work.
There are also other materials suitable for modeling:
- Air-drying modeling clay: No kiln required.
- Plasticine: Doesn't dry out and is ideal for practice (oil-based modeling compound).
- Wax: Well suited for fine details.
- Plaster: Hardens quickly and is ideal for impressions or reliefs.
Depending on the project and level of detail, a different material may work better than clay. Katrin Kleinau recommends using clay, since other materials aren't quite as well suited as clay.

What Do You Need for Modeling?
To model a head out of clay, you'll need the following materials:
- 20 kg of clay (at least 25% grog content, grain size 1 mm)
- A wooden board (approx. 30 × 30 cm, 1 cm thick) as a work surface
- A plastic bag to cover the piece while drying
- A piece of cloth to cover the piece while drying
- Modeling tools to work out the facial details
- A knife for cutting the clay
- A fork to roughen the clay's surface
- Skewers for shaping details
- Newspaper to stabilize the bust
- A mirror to help with proportions
- A tape measure to measure dimensions precisely
- Pen and paper for planning sketches
How to Model a Head Out of Clay – Step by Step
1. Create the Basic Shape of the Clay Head
For your clay head, you'll first need the right materials and tools: clay (ideally with grog content for extra stability), newspaper, a wooden board as a work surface, and modeling tools or simply your fingers to shape and smooth the coils of clay.
Start with the coil technique: roll out coils of clay and stack them in a spiral. Make sure to roughen the contact points with a fork so the coils adhere better. This way, you gradually build up a hollow bust in an hourglass shape, this is the foundation for your clay head.

Source: Image from Katrin Kleinau's classes
2. Let It Dry Partially for Stability
Let the clay dry slightly before continuing, so it stays more stable. To do this, cover the bust with a plastic bag and place a slightly damp cloth over the plastic bag. This allows the clay to dry evenly without drying out too quickly or cracking.
3. Model the Rough Anatomical Shapes of the Head
Once the clay is stable enough, you can start on the rough anatomical shapes. Use modeling tools or a knife to work out the basic features of the jaw, back of the head, and neck. A tape measure or ruler will help you keep the proportions in check. Paper and pen are also useful for making measurement sketches. This helps ensure your head will look realistic later on.

Source: Image from Katrin Kleinau's classes
4. Work Out the Facial Features
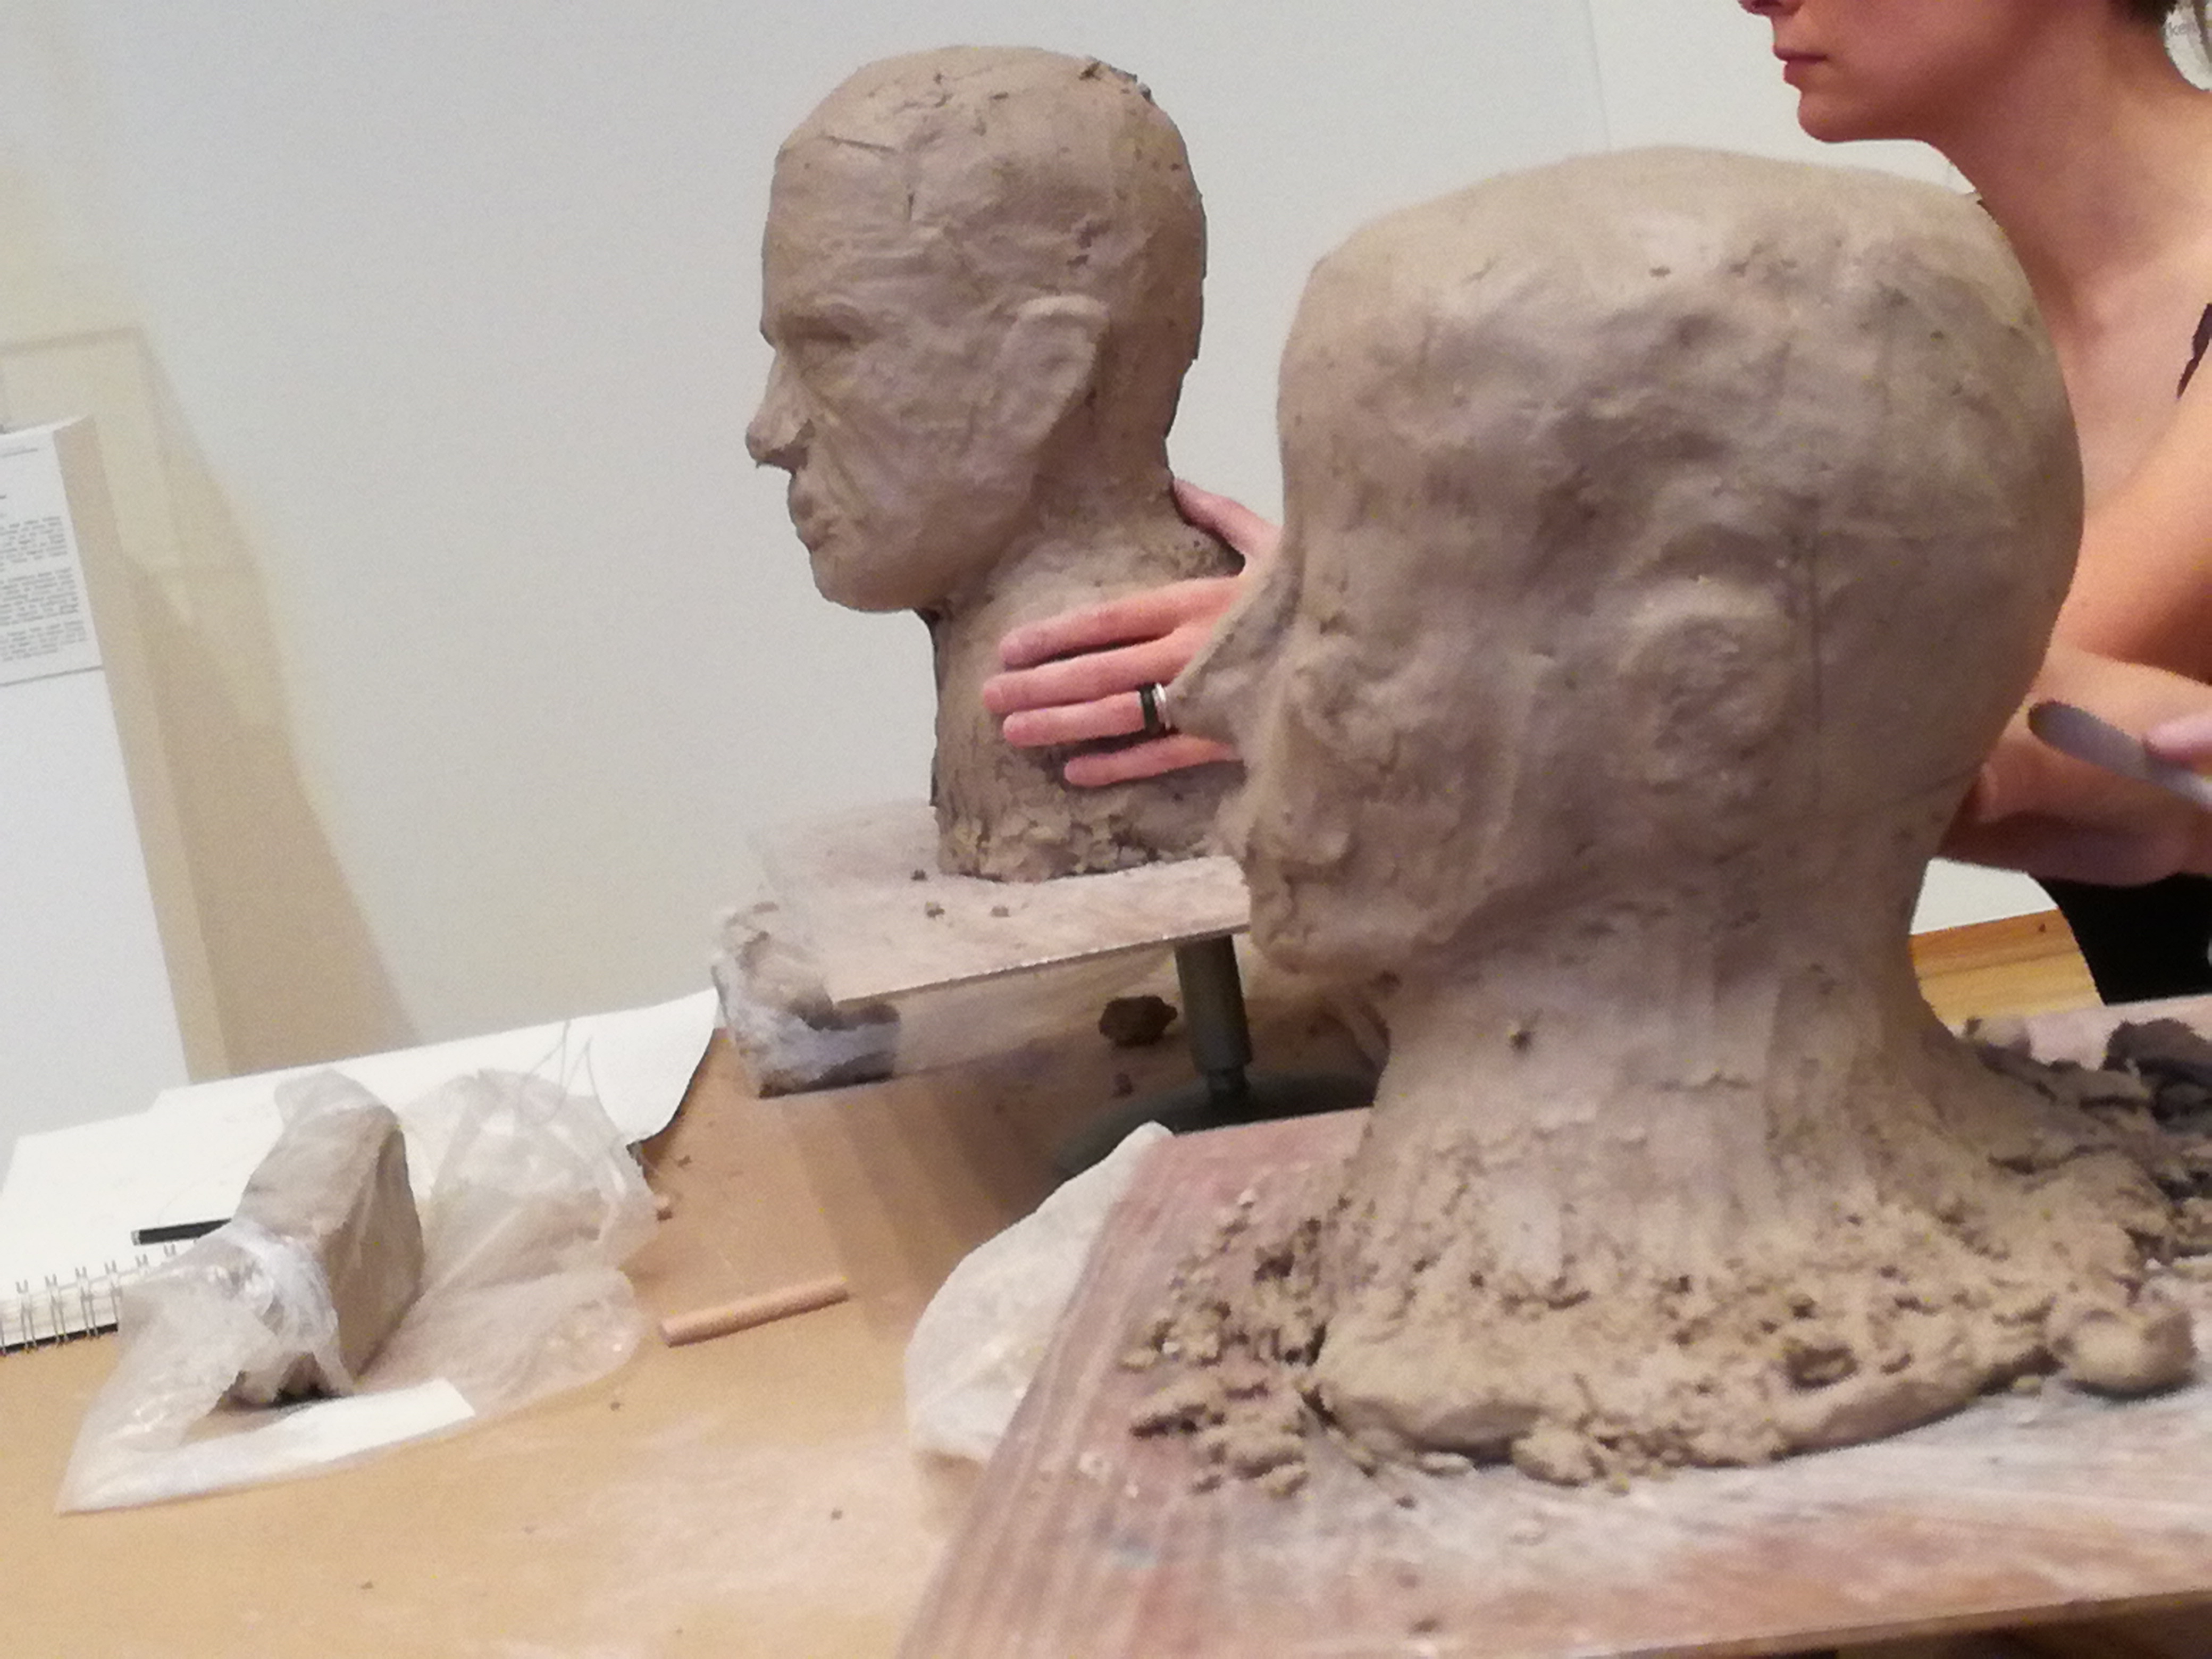
Shape the eye sockets, nostrils, mouth area, and ears. You can use forks and skewers to carve in contours and work out fine details. Modeling tools in various sizes will help you make the structures look as realistic as possible. Keep checking a mirror and use your own face as a reference, this will make your clay head look especially lively and natural.

Source: Image from Katrin Kleinau's classes
5. Check Proportions and Three-Dimensionality
To make sure your clay head looks right from every angle, turn your work regularly, ideally on a rotating pottery wheel if you have one. Use a tape measure to check the proportions and compare them to your measurement sketches.

Source: Image from Katrin Kleinau's classes
6. Add Finishing Touches and Expression
Use fine modeling tools or toothpicks to shape skin texture, facial expression, and small wrinkles. These details bring your clay head to life and make it unique. Use a damp sponge and water to smooth the surface and soften transitions. Even small changes in the angle of the eyes or expression can completely change the overall look of your bust, it's up to you what personality your artwork gets.

7. Final Touches and Preparing for Drying and Firing
To ensure your clay head dries evenly and doesn't crack, loosely cover the finished sculpture with a plastic bag. This lets the clay dry slowly and stay stable. Once the clay head is completely dry, you can have it fired. Optionally, after firing, you can paint it with ceramic colors to give your clay head the finishing touch.

Can You Model Your Own Face?
Yes, you can model your own face, it's actually a very creative exercise. A mirror helps you capture the exact proportions and details of your face. While photos can serve as a reference, looking directly into a mirror offers better three-dimensional orientation.