Painting Watercolor Flowers: How to Create Beautiful Flowers
- When painting flowers in watercolor, the focus is not on creating an exact representation, but rather on mood and lightness.
- You will need: watercolor paper, brushes, paints, water, and a few simple tools such as fineliners and toothpicks.
- The step-by-step instructions guide you from the motif to color mixing to shading and details.
- Suitable for beginners—with a few tricks, you can also create simple watercolor flowers and loose compositions.
- Visit my watercolor course in Cologne and join me in creating beautiful flowers with watercolors.
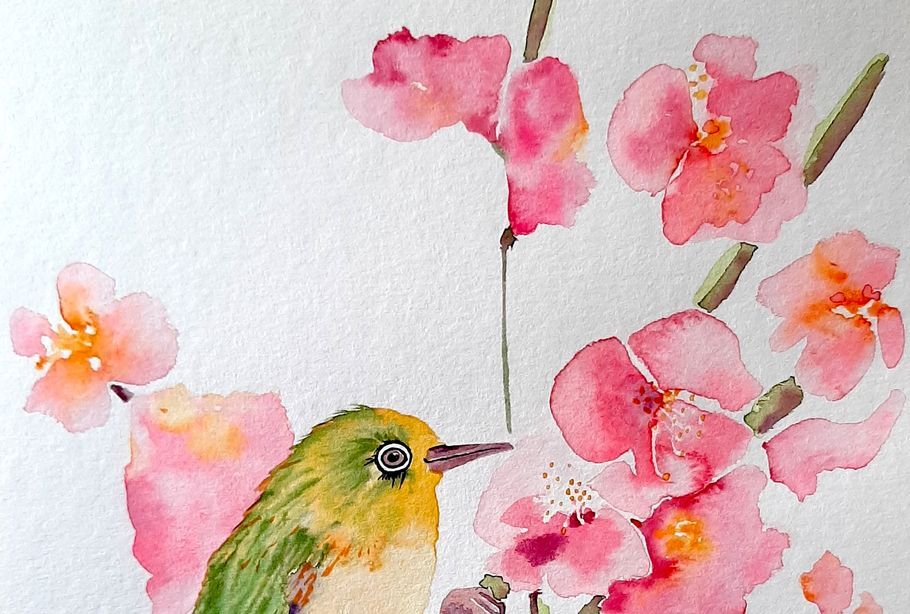
There are as many ways of painting watercolor flowers as there are artists in the world. I want to emphasize that right from the start. Personally, I take an intuitive approach to floral art. My goal is to capture the essence of the plants, the delicate lightness of the petals, and the effortless flow of the arrangement. That is why this isn't a rigid manual for a single flower, but rather a guide to help you find joy while creating your own unique watercolor bouquet.
Supplies for Painting Watercolor Flowers

Here is the list of materials I use for my floral watercolor work:
- High-quality watercolor paper (preferably 100% cotton, 300 g/m², e.g., Hahnenmühle cold pressed)
- Round synthetic watercolor brush (e.g., da Vinci size 8)
- Optional: Rigger/Liner brush (e.g., da Vinci Kolinsky + Synthetics)
- Professional watercolor paints (e.g., a travel set with 14 colors)
- B Pencil
- Pigment liners (0.3) in matching colors
- White Posca pen (0.7) for highlights
- Clean water and paper towels
- Toothpicks
Watercolor Flowers for Beginners – Step-by-Step Tutorial
Step 1 – Choose Your Motif
Start with something simple. A fresh watercolor bouquet or even just a single bloom is perfect for getting started. We aren't aiming for a photorealistic image; we want to capture the color mood and the characteristic silhouette of the flower using water and pigment.
Step 2 – Mix Your Watercolor Paints
Try to identify the dominant colors in your subject. To keep things manageable—especially when learning watercolor flowers for beginners—reduce your palette to just two shades of green and three floral colors. Mix these colors in the lid of your paint box before you start.

Step 3 – Wet the Areas
You can lightly sketch the outline of a vase or a few stems with your pencil as a guide—just make sure to use very little pressure. Now, apply clear water to the spots where flowers of the same color will be. The shapes don't need to be perfect; just lay down loose "islands" of water. This is also a great way to create abstract watercolor flowers.
Step 4 – Infuse the Color
Begin by dropping the lightest tone of your chosen color into the wet areas. Gradually add darker pigments. Use your liner brush to draw thin, light green lines to connect the smaller blossoms. Draw the stems of the larger flowers toward the rim of the vase to create a cohesive arrangement.
Step 5 – Shading the Flowers
Once the first layer has dried slightly, add darker watercolor paints to the parts of the petals and leaves where you see shadows. A helpful trick: squint your eyes while looking at your motif to see the contrasts more clearly.
Step 6 – Fine Details with Fineliner
Finally, add a few delicate details with a pen or create highlights with white. A few strokes are usually enough to define the shape. Remember: Less is more! It is very easy to overwork a watercolor painting.
Step 7 – Appreciate Your Work
It is vital to look at your finished piece with kindness. Don't be too critical. Instead, praise yourself for having the courage to try. You are on a creative journey! Focus on how beautiful it feels to work with colors and enjoy the process rather than just the final result.