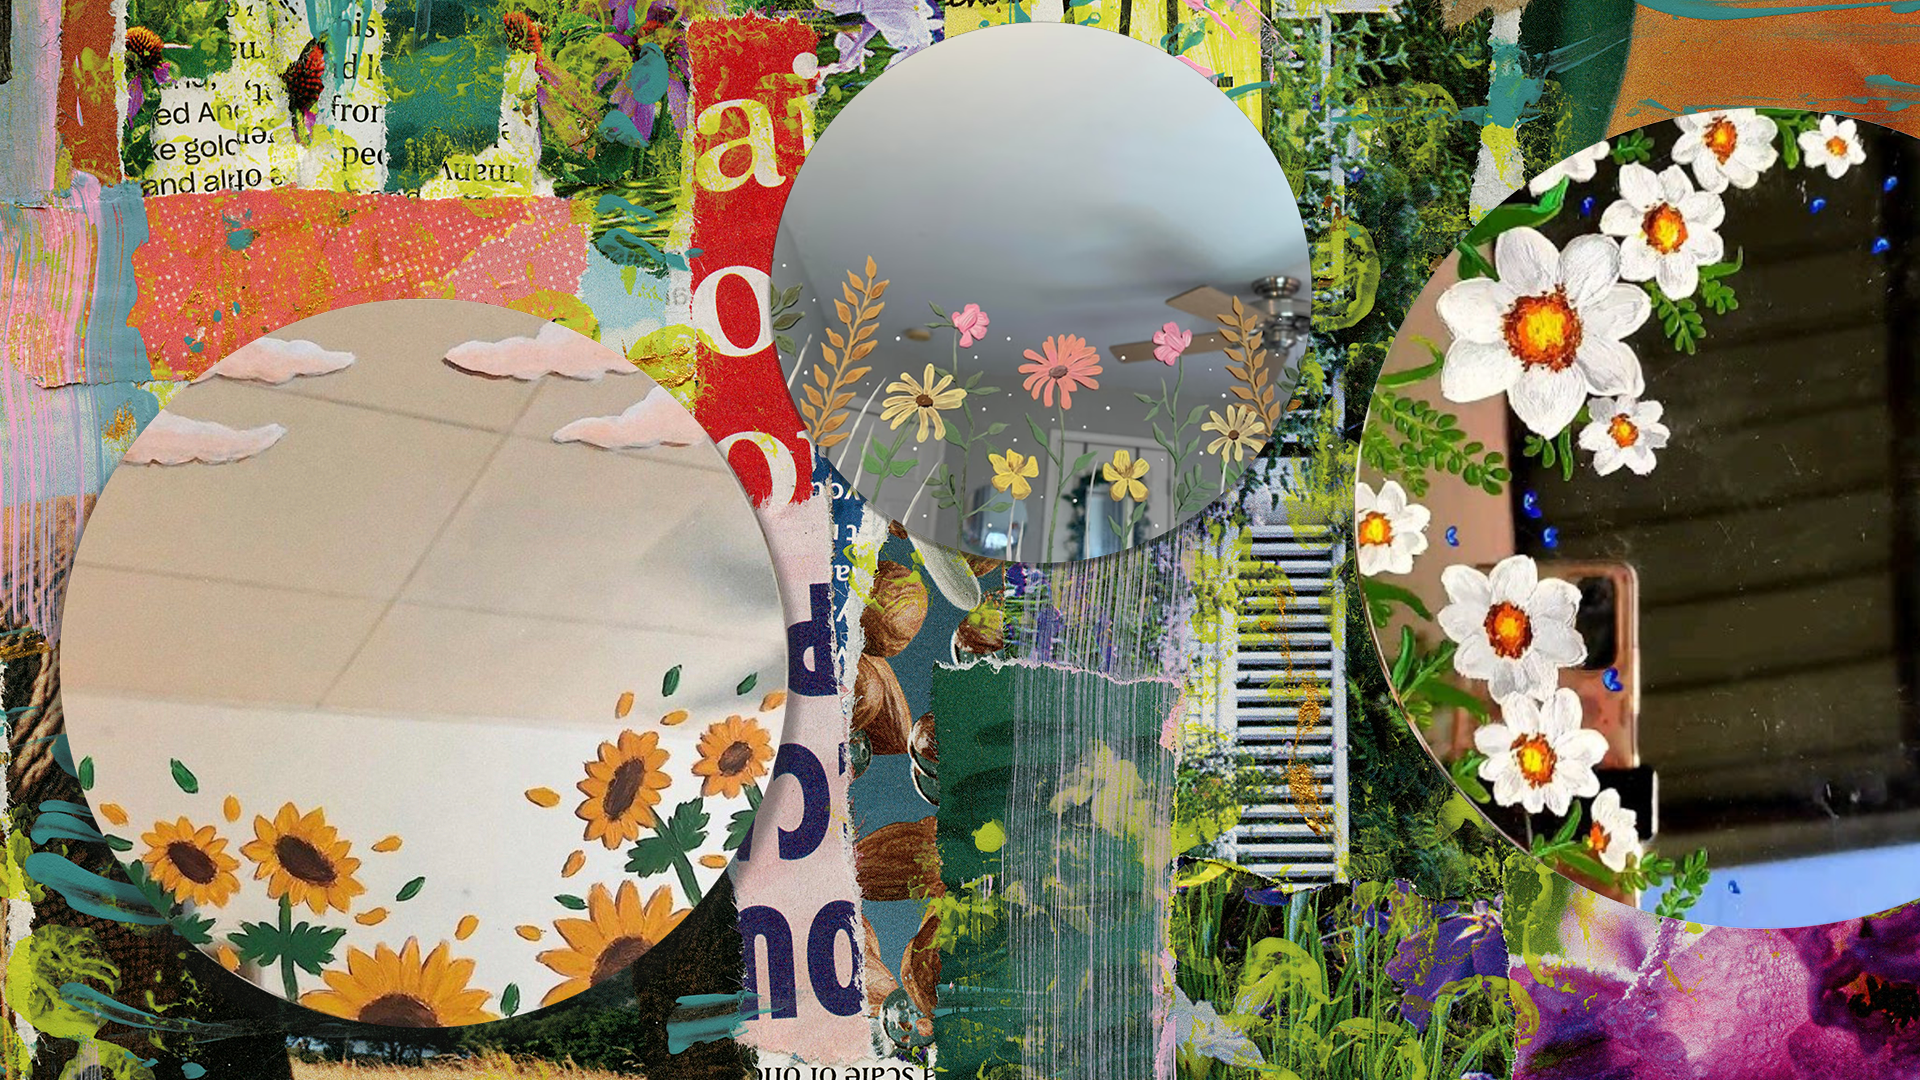
- Painting a mirror is simple and doesn't require any prior experience.
- What you'll need: a mirror, acrylic paint, acrylic markers, stencils, brushes, painter's tape, and fixative spray.
- Acrylic paint and acrylic markers adhere well to smooth surfaces. Clean the mirror thoroughly beforehand.
- Looking for inspiration? Boho style, flower meadow, lettering, jungle, or shabby-chic look.
- Want to try it yourself? Paint your own mirror at my mirror workshop in Hamburg or the mirror workshop in Cologne.
A plain mirror can turn into a real work of art with just a bit of creativity, and you don't even need much experience or expensive materials to do it. With acrylic paint, acrylic markers, and a few simple tools like stencils, you can design your mirror however you like. Whether it's a boho look, floral patterns, or inspiring quotes, your imagination is the only limit.
In this article, you'll learn everything you need to know to get started: from choosing the right paint to creative design ideas, plus a step-by-step guide to help you reach your goal with confidence.
What Do You Need to Paint a Mirror?
Before you start, it helps to have all your materials within reach. Here's an overview:
- Mirror: A clear mirror without a protective film or coating works best. In my workshops, participants can choose from three different shapes: round, square, or rectangular.
- Acrylic paint: This water-based paint is perfect for smooth surfaces like glass or mirrors. It dries quickly and blends well.
- Acrylic markers: These let you draw fine lines, lettering, or small details directly onto the mirror.
- Stencils: These help you create even patterns or motifs, especially useful for geometric shapes or text. We offer options like mandalas, flowers, plants, patterns, and motivational quotes in English, among others.
- Brushes and palette knives: Different sizes let you handle both large areas and fine detail work.
- Painter's tape or masking tape: Use this to protect areas that should stay untouched.
- Fixative spray or clear varnish: To permanently protect your finished design.
- Cleaning supplies: Use glass cleaner, for example, to remove grease from the mirror before painting. In the workshop, I take care of this step ahead of time.
Optional:
- Sponges for dabbing techniques or textured effects
- Glitter, beads, or other decorative elements, if you're going for a playful look

What Kind of Paint Sticks to a Mirror?
Acrylic paint is ideal for painting mirrors since it adheres well to smooth surfaces, as long as the surface is clean and grease-free. For even better adhesion, you can use a glass primer, though it's not strictly necessary.
Acrylic markers (also available as glass or porcelain markers) let you work with more precision, for example for hand lettering or small details.
Important: Once the paint has dried, you should seal it with a clear varnish to make it scratch- and water-resistant.

Painting a Mirror – Step by Step
With this guide, you can get started right away. Each step brings you closer to your own unique design:
Step 1: Clean the Mirror
Before applying paint, thoroughly clean the surface with glass cleaner or isopropyl alcohol. Leftover dust or grease will prevent the paint from sticking properly.
Step 2: Plan Your Mirror's Design
Think about what you want to create on the mirror. You can sketch a rough draft on paper, or draw directly onto the mirror with pencil, which wipes off easily later. Alternatively, you can use stencils to create precise patterns.
Step 3: Tape Off Areas on the Mirror
Use painter's tape to protect certain areas or mark out geometric shapes. Pay attention to clean edges as you go.


Step 4: Paint the Mirror
Now it's time for color:
- Large areas are best painted with a brush or sponge.
- Fine details work well with acrylic markers.
- Stencils should be dabbed carefully rather than brushed, this prevents the paint from bleeding.
Tip: It's better to work in several thin layers rather than one thick one, this gives you a more even result.
The great thing about painting on mirrors? You can hit the reset button anytime! If you don't like how your design turns out, just wipe it away, no trace left behind. That's not quite as easy with canvas or fabric bags.
Step 5: Let the Mirror Dry Between Steps
Let each layer of paint dry thoroughly before continuing. Depending on room temperature and paint thickness, this takes about 15–30 minutes. You can also use a hair dryer to speed things up.
Step 6: Seal the Paint on the Mirror
Once your design is finished, seal it. Spray a clear varnish or fixative spray over the painted areas (hold it at a sufficient distance, about 8 inches). This keeps your design looking great for a long time.
Step 7: Remove the Painter's Tape
Carefully peel off the painter's tape, ideally while the paint hasn't fully cured yet, this gives you especially clean edges.

Creative Ideas for Your Mirror Design
Carefully peel off the painter's tape, ideally while the paint hasn't fully cured yet, this gives you especially clean edges.
Boho-Style Mirror
Use natural colors, patterns, and materials. Pair your painted design with jute string, wooden beads, or dried flowers for the perfect boho look.
Mirror with a Tropical Jungle Motif
Green leaves, monstera patterns, or palm trees: with stencils and rich shades of green, you can create a mini oasis at home.

Shabby-Chic Style Mirror
Here, pastel tones and vintage motifs take center stage. You can lightly sand the painted frame to achieve the popular distressed look.
Mirror with Lettering
A beautiful quote, a motivating word, or a poem, with acrylic markers, you can easily add lettering. Great for bathroom or hallway mirrors too.

Your Own Style Matters When Painting a Mirror
A painted mirror is more than just a decorative piece, it's an expression of your personality. Whether playful, simple, or colorful, what matters most is that you love the result. Don't be afraid to try something new, and remember: small imperfections make your piece unique.