Making Lanterns: How to Design Your Own
Lanterns radiate coziness – whether it's a warm summer evening with friends or a rainy winter day. A lantern is essentially nothing more than a light source with wind and weather protection. With a few simple steps, you can turn old jars into individual lanterns and practice sustainable upcycling. Get inspired and make your home just a little bit cozier.
What do you need to make a lantern?
Everything you need for a DIY lantern, you probably already have at home. Depending on the technique, you can use the following materials:
- Glass as the base form: Use an empty jam or pickle jar, or a classic mason jar. Upcycling protects the environment.
- Paint and small sponges: For your first attempt, acrylic paint is enough. Use a small sponge to gently dab the paint onto the glass.
- Tape: This lets you mask off stripes or graphic patterns before painting the glass.
- Ribbons and beads: Jute ribbon, leather cord, lace, or macramé yarn work well for decoration. Beads, shells, or wooden charms add that special touch.
- Optional extras: Stamps, stencils, texture paste, or ice crystal effects add variety but aren't strictly necessary. The simpler you start, the more fun you'll have.
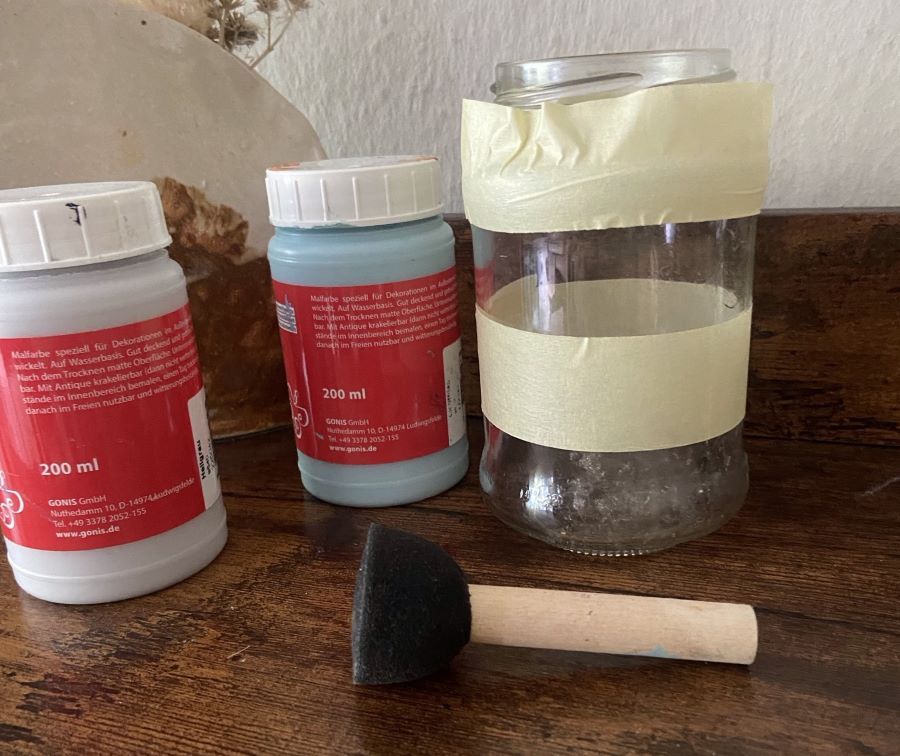
How to make a lantern: Step-by-step instructions
Making a lantern is easier than you think. Follow these steps and adapt them to your style:
DIY lantern Step 1: Prepare your lantern
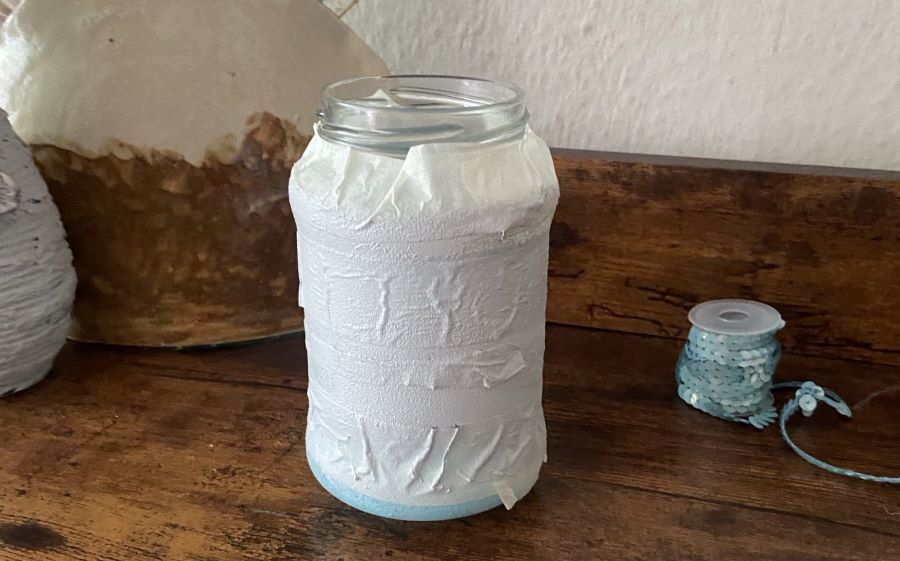
Clean your glass thoroughly and dry it. Use painter's tape to mask off the areas that should stay clear (e.g., stripes or geometric patterns).
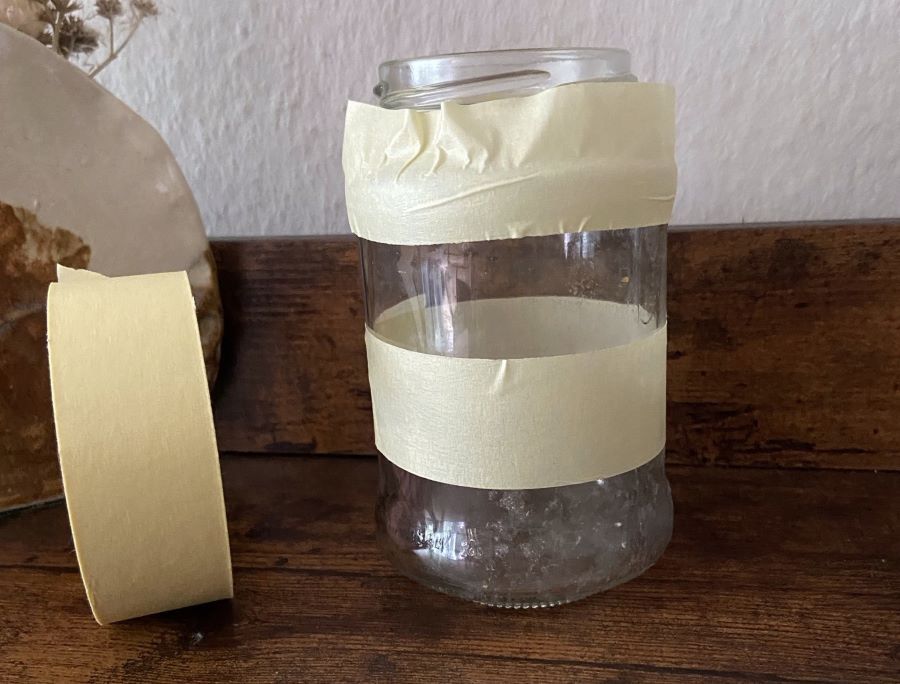
DIY lantern Step 2: Apply paint to the glass
Take a small sponge and dab a little paint onto the exposed areas. It's important that you can still see the sponge's texture; too much paint will cause the result to run.
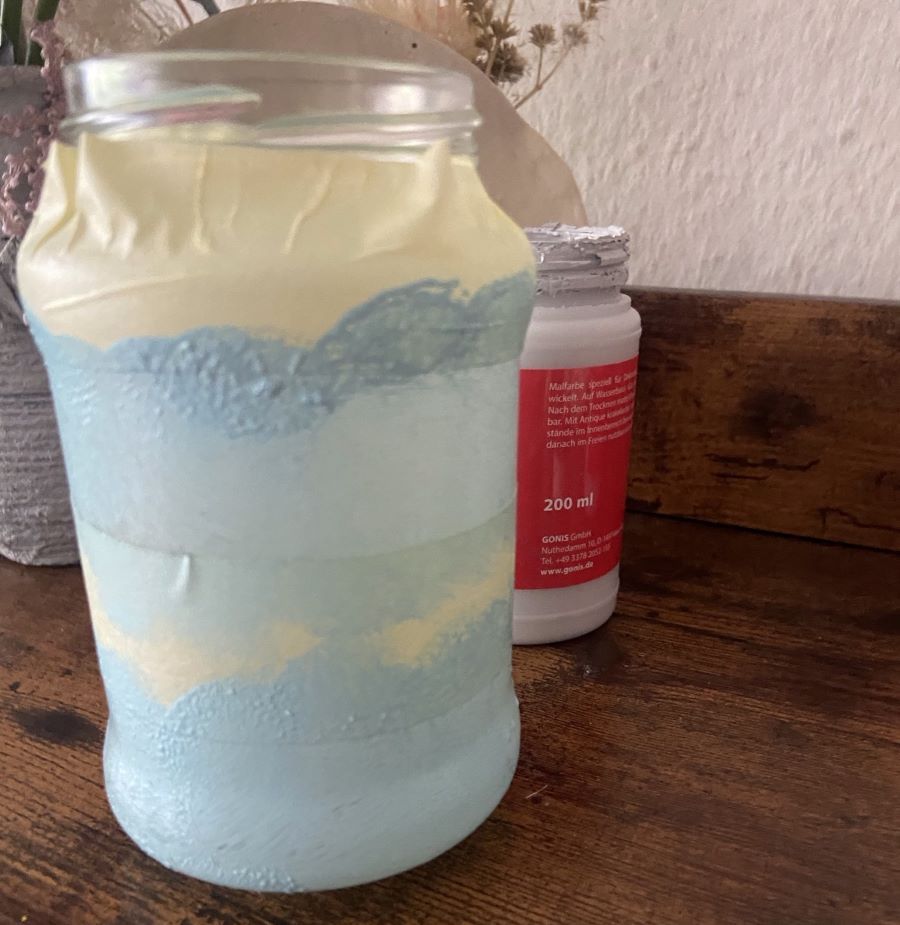
DIY lantern Step 3: Remove the tape
Remove the tape while the paint is still wet. This gives you clean edges. Then let the glass dry thoroughly.
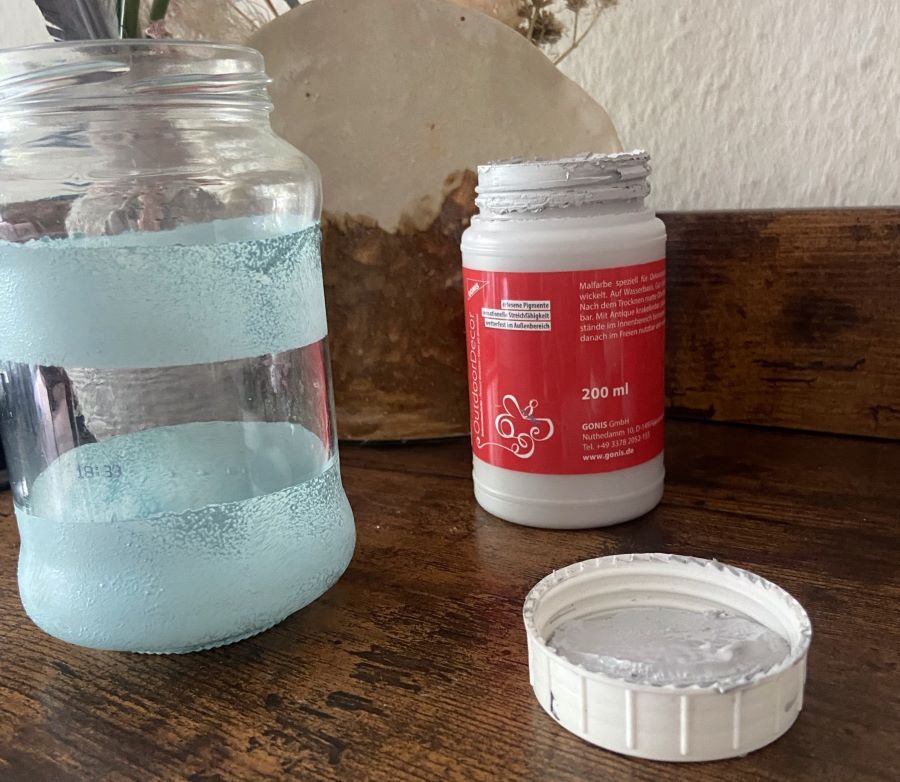
DIY lantern Step 4: Optionally add a second layer
For more depth, you can use a second color. Mask the glass again and repeat the process.
DIY lantern Step 5: Decorate
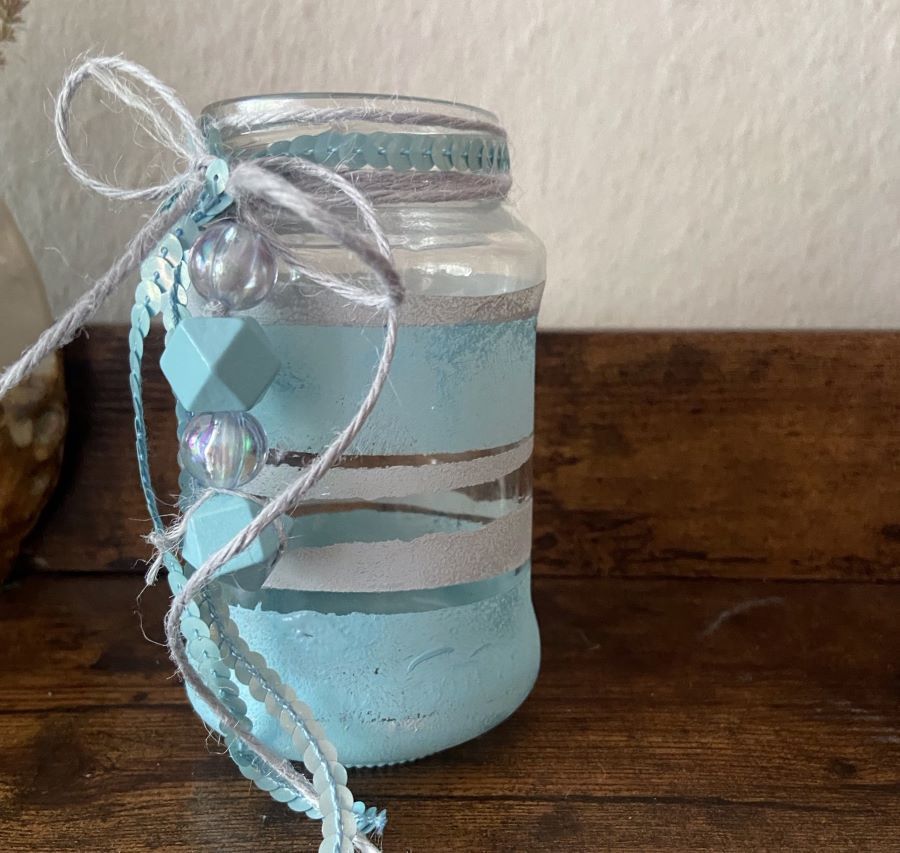
Once dry, you can tie a ribbon around the opening, string beads, or attach small charms. Stamps or stencils give your design a personal touch.
DIY lantern Step 6: Add the light
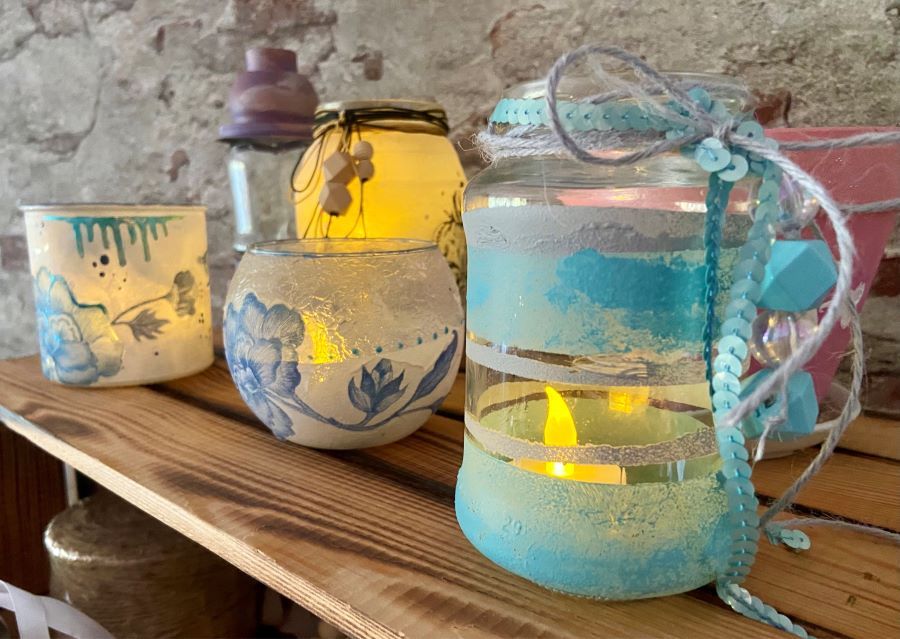
Place an electric tea light or a tea light inside a smaller glass in your lantern. This keeps things safe so you can enjoy it for a long time.

Ideas for what you can make a lantern out of
Beyond the classic glass jar, there are many materials you can use to make lanterns. Here are a few ideas:
- Tissue paper: Cut a strip of tissue paper slightly wider than your glass, fold it accordion-style, and glue it around the glass. This creates a delicate lantern with pretty pleats.
- Natural materials: Cover your glass with dried leaves, flowers, shells, or bark. A jute ribbon rounds off the natural look.
- Textiles and yarns: Crochet or knot a net from macramé yarn and slip it over the glass. Simple lace also gives your lantern a romantic look.
- Tin cans: Old cans can also be turned into lanterns. Drill small patterns into them, paint the can however you like, and place a tea light inside – the light shines through the holes.
- Concrete or plaster: Cast small lantern shapes from concrete or plaster. Once dry, you can paint them or leave them in simple natural tones.
With these ideas, making lanterns becomes a creative experience. Experiment with different materials and colors and let your imagination run free. Every handmade lantern is a one-of-a-kind piece – perfect as a gift or as a highlight on your balcony or in your living room.