

Pottery Wheel for Beginners – The Essentials at a Glance:
- Getting started works best in a class: Learn the basic technique (especially centering) directly under guidance. That way you avoid frustration and don’t pick up bad habits that slow you down later.
- Centering is everything: Give this step the most time and patience. Only when the clay runs perfectly centered and true will you end up with a straight vessel.
- Calm and consistency: It’s much easier with less force and calmly braced arms. Practice briefly once a week rather than rarely and for long – and start with simple shapes like small bowls or cylinders for quick wins.
- Learn pottery: Visit Taschas Töpferküche and book your pottery class in Osnabrück, or browse 538 pottery classes in Germany and Austria.
Can I teach myself to use a pottery wheel?
Yes, in principle you can – I’m living proof. If you want to discover pottery for beginners on your own first, videos and lots of trial and error will get you a good way. Whether you start with free-form clay projects for beginners or the pottery wheel for beginners appeals to you right away, curiosity keeps you going.
- The catch: If you’re sitting alone at a beginner pottery wheel, you often don’t notice why a movement suddenly doesn’t work. You unconsciously pick up habits that hold you back later.
- My own experience: I spent a long time throwing by feel and bought online videos. It wasn’t until I took an intensive pottery wheel class myself that I really understood how much easier and smoother it gets with the right technique.
- My advice to you: Learn the basics of pottery for beginners from someone who can look over your shoulder and correct you. After that, you can keep practicing on your own and find your very own rhythm.
Is it hard? Realistic expectations for the learning curve
Honestly, at first, yes. Working at the pottery wheel feels unfamiliar, and your body first has to learn to stay completely calm while the clay spins under your hands. Please expect quite a few pieces to collapse in the first few hours. Believe me, that’s completely normal and simply part of it.
This is what the typical learning curve looks like, in my experience:
- The first few hours: You mainly learn centering. Your biggest early win: the clay no longer wobbles but runs perfectly round.
- After a few practice sessions: The clay slowly starts to obey you. Your first small bowls and cups take shape and hold their form.
- After a few months of regular practice: You develop a real feel for the material. Your walls get more even, and you stop leaving shapes to chance and start planning them deliberately.
My most important tip for you: It isn’t about how fast you learn, but about sticking with it. Sit down at the wheel for an hour once a week rather than for a whole day every three months. Consistency is the real key to success.
Preparation and equipment: How do I get started?
You actually need less to get started than you might think. What to wear to a pottery wheel class? Comfortable clothes that are allowed to get dirty, short fingernails and no jewelry. Rings and long nails quickly leave unwanted marks in the clay. It’s best to simply tie back long hair.
Buy a pottery wheel, rent one, or take a class?
- A pottery class: For getting started, this is clearly the best choice. You learn the technique correctly from the very beginning and get direct feedback. Clay, tools, kiln and glazes are already on site.
- Rent a pottery wheel or visit an open studio: Ideal once you’ve mastered the basics and want to practice regularly without spending a lot of money right away.
- Buy a pottery wheel: This only makes sense once you’re absolutely sure you’ll stick with it. On top of the wheel itself, you need space, clay, tools and a kiln – or at least someone nearby who will fire your pieces for you.
The right clay
For the pottery wheel, you use wheel-throwing clay. It’s particularly smooth and easy to shape. The best clay for a beginner pottery wheel contains only a little fine grog. Grog is already-fired, ground clay that’s mixed into fresh clay. It adds stability so your walls don’t buckle as quickly. Grog that is too coarse, on the other hand, can chafe your hands.
The most important tools
- Sponge: Absorbs excess water and smooths the surface.
- Cutting wire: Use it to separate your finished piece from the wheel.
- Rib: A flat wooden or metal shaping tool for smoothing walls and shaping forms deliberately.
- Needle tool: For trimming an uneven rim and checking the thickness of the base.
- Trimming loop tools: Tools with a metal loop that you use later to remove excess clay from the dried vessel.
- A bowl of water: So your hands glide over the clay.
First steps at the pottery wheel
When you throw pottery on the wheel as a beginner, every vessel is made with the same basic steps. Once you’ve internalized them, everything else becomes much easier.
- Wedge the clay: Before the clay goes onto the wheel, you knead or slam it thoroughly. This removes air bubbles and makes it evenly soft. That’s extremely important, because air bubbles can throw the vessel off balance while spinning and can even cause cracks during firing.
- Place the clay on the wheel: Shape the clay into a ball and press it onto the dry wheel head, as centered and firmly as possible.
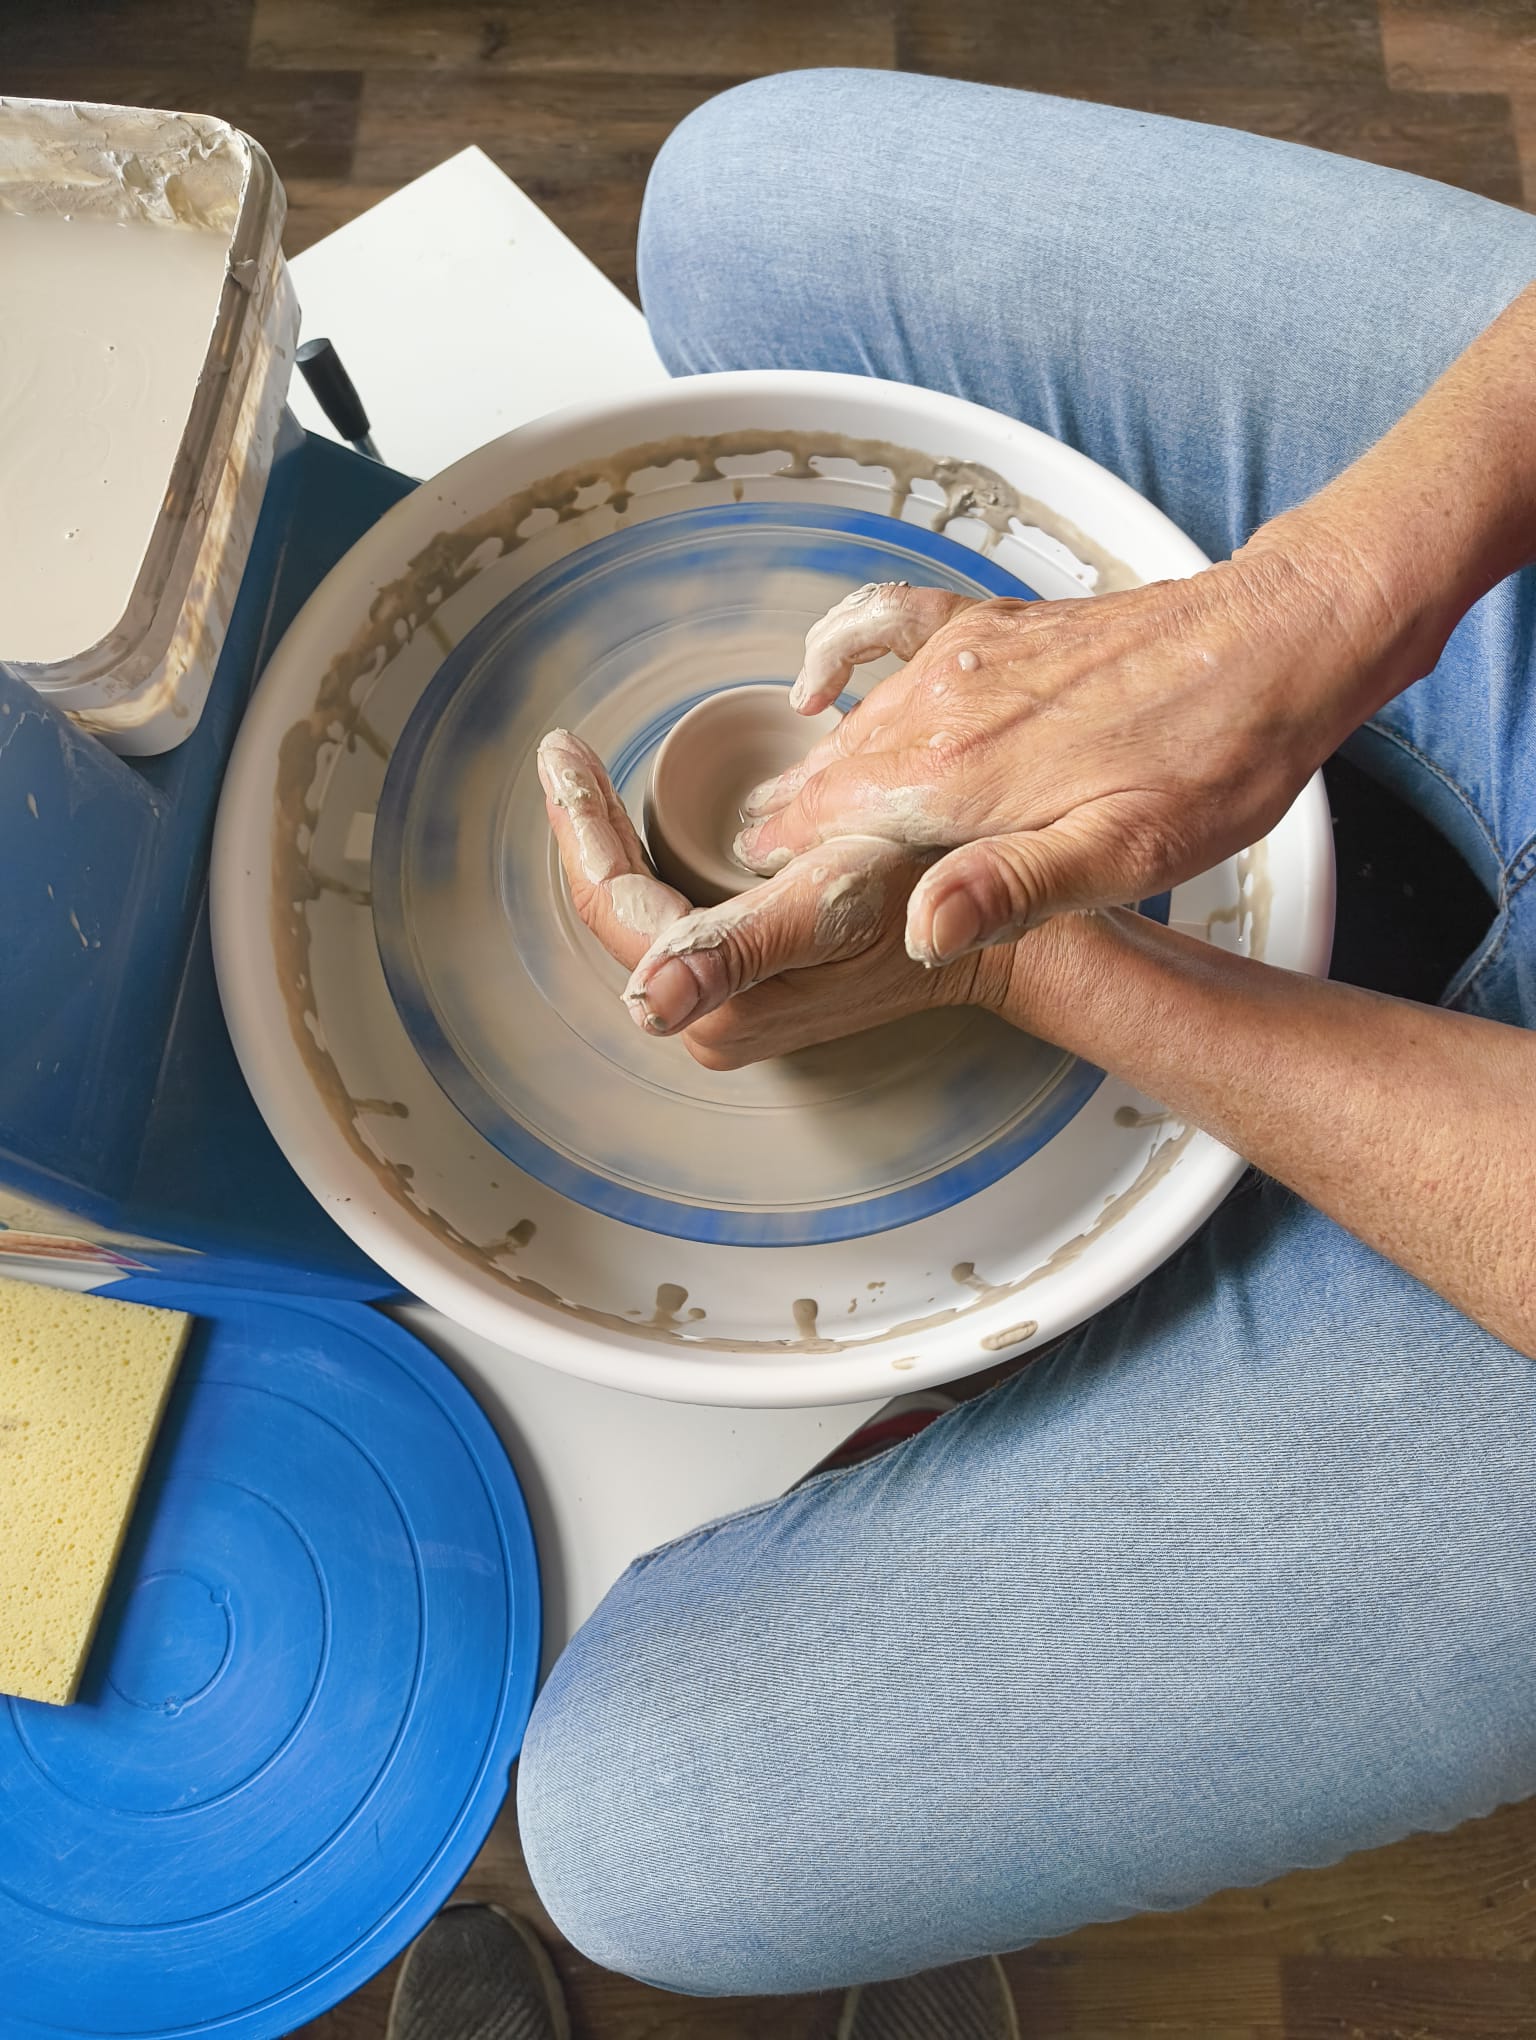
- Center the clay: This is the most important step in pottery for beginners. Centering means bringing the clay exactly into the middle while the wheel spins fast, so that it runs true and no longer wobbles. Brace your elbows firmly against your body or your thighs and work from your core, not just with the strength of your hands.
- Open the clay: With your thumb or fingers, you press a hole into the center of the clay and pull the bottom open. Leave about half an inch (1 cm) of base. Make sure you don’t leave a spiral ridge (a so-called “snail”) on the inside, and don’t open the base too quickly.
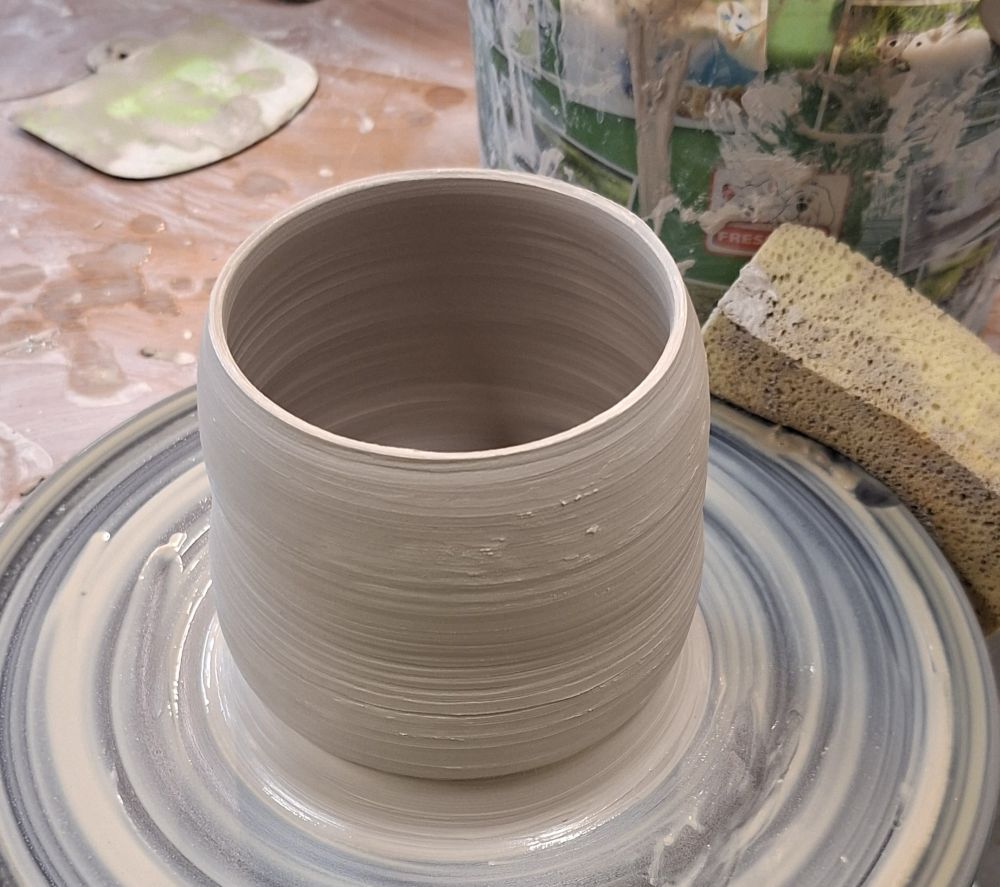
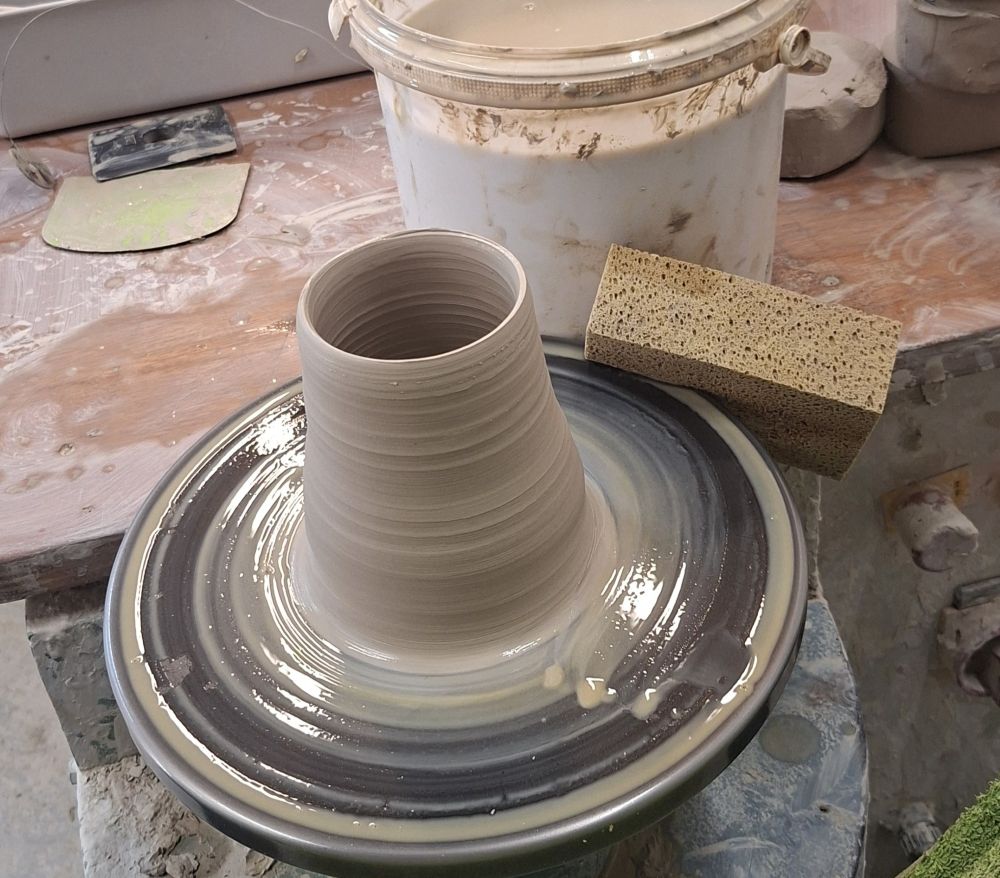
- Pull up the walls: Now you form the wall. Let the pottery wheel run a little slower and work with full attention and even pressure. One hand is inside, the other outside, and both move upward in sync while the wheel turns slowly. With the so-called knuckle pull, you press against it on the outside with the knuckle of your bent index finger. On the inside, the middle finger does most of the work. This gives you a nice, even wall.
- Shape and smooth: Using your hands, a sponge and a rib, you give your piece its final shape. With more practice, you can refine that feel even further later on.
- Cut it off: With the cutting wire, you separate your vessel from the wheel. Pull it all the way through to yourself. Then confidently slide one or two fingers under your piece, hold one hand gently against it and lift it. Set it down carefully on a board.
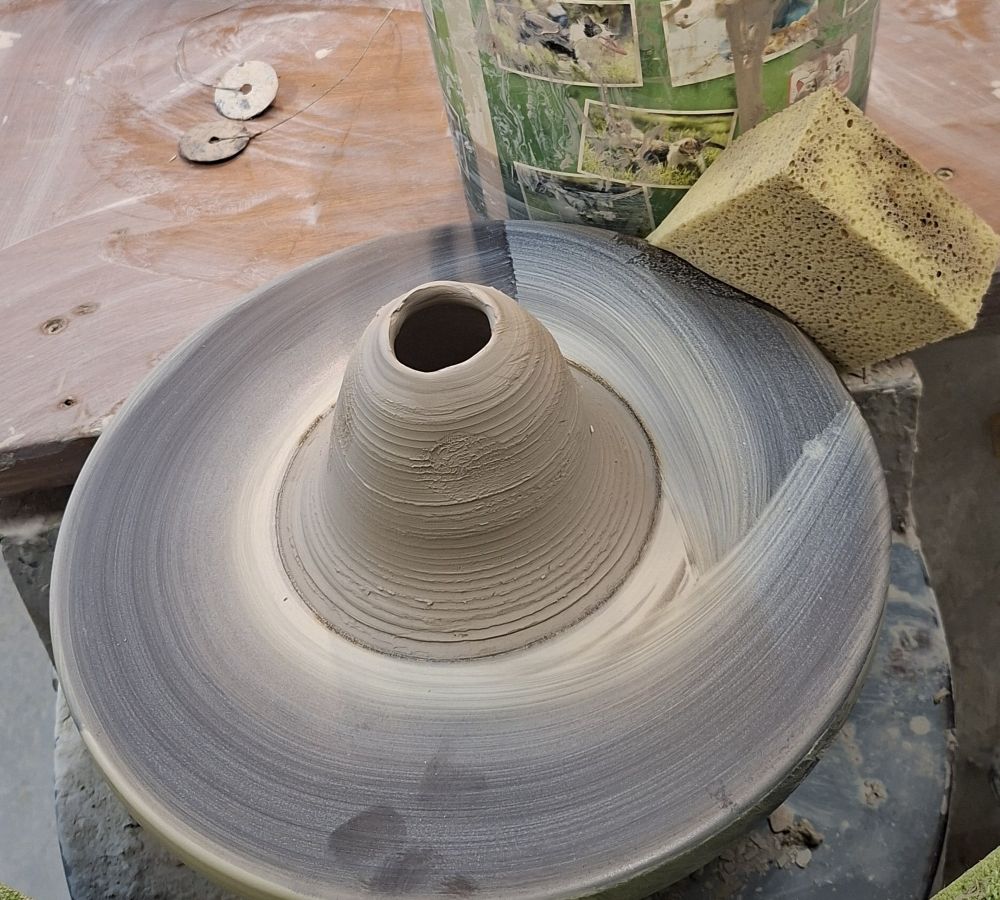
After that, patience is called for: Things continue once your piece is leather-hard. That’s the term for the state when the clay has dried slightly but not completely. Now you can trim the foot to your taste with modeling tools, meaning you remove excess clay from the bottom.
Your piece then goes into the kiln and is fired twice: First comes the so-called bisque firing at 920 to 950 °C (about 1,690 to 1,740 °F), the first firing without glaze. After glazing, the final glaze firing follows.
What can beginners make on the pottery wheel?
Start with simple shapes:
- Cylinder: A straight cup without a handle. It’s the best way to practice pulling up walls, because you can see right away whether the wall is even.
- Small bowls: They’re more forgiving because the wall doesn’t have to get as tall. Perfect beginner pottery wheel projects for first wins.
Plates, lids and jars come later. They’re significantly more challenging.
What do you need to keep in mind when throwing pottery?
- Wedge the clay well: Better to knead a minute longer, ram’s head wedging works nicely. Every air bubble comes back to bite you.
- Center cleanly: If the clay doesn’t run true, your vessel will be crooked too. Take the most time and patience here. Learning by doing. It does take some strength, though.
- Dose the water: As much as necessary, as little as possible. Too much water softens the clay, and the wall collapses. If water collects in the base, take it out with a sponge.
- Adjust the speed: The wheel spins fast for centering, and slower for pulling up and shaping.
Practical tips for getting started from a pro
- Less force, more calm: That was my biggest insight from the intensive course. I used to press far too hard. With calm, braced hands it’s easier, and you last much longer.
- Let go of old habits: If something isn’t working, deliberately try a different grip or posture. Sometimes it’s just a small detail.
- Mistakes are part of it: Your first cup collapses? Welcome to the club! Every failed attempt trains your feel for the clay. And you can reuse unfired clay, but not right away. Leave it on a plaster bat for 10 to 15 minutes to firm up slightly, but don’t let it get too dry – keep it supple. Then wedge it thoroughly, 10 to 20 times. If you cut it in half, you can see whether it still has air pockets.
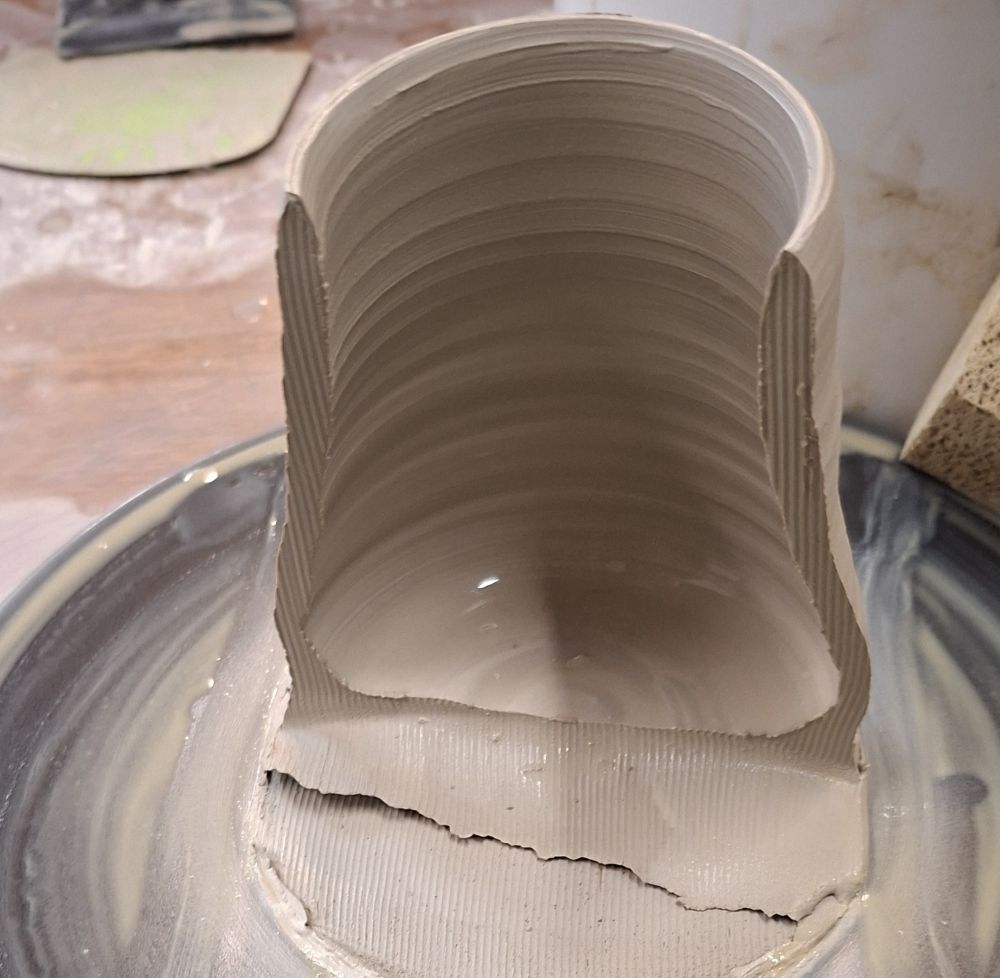
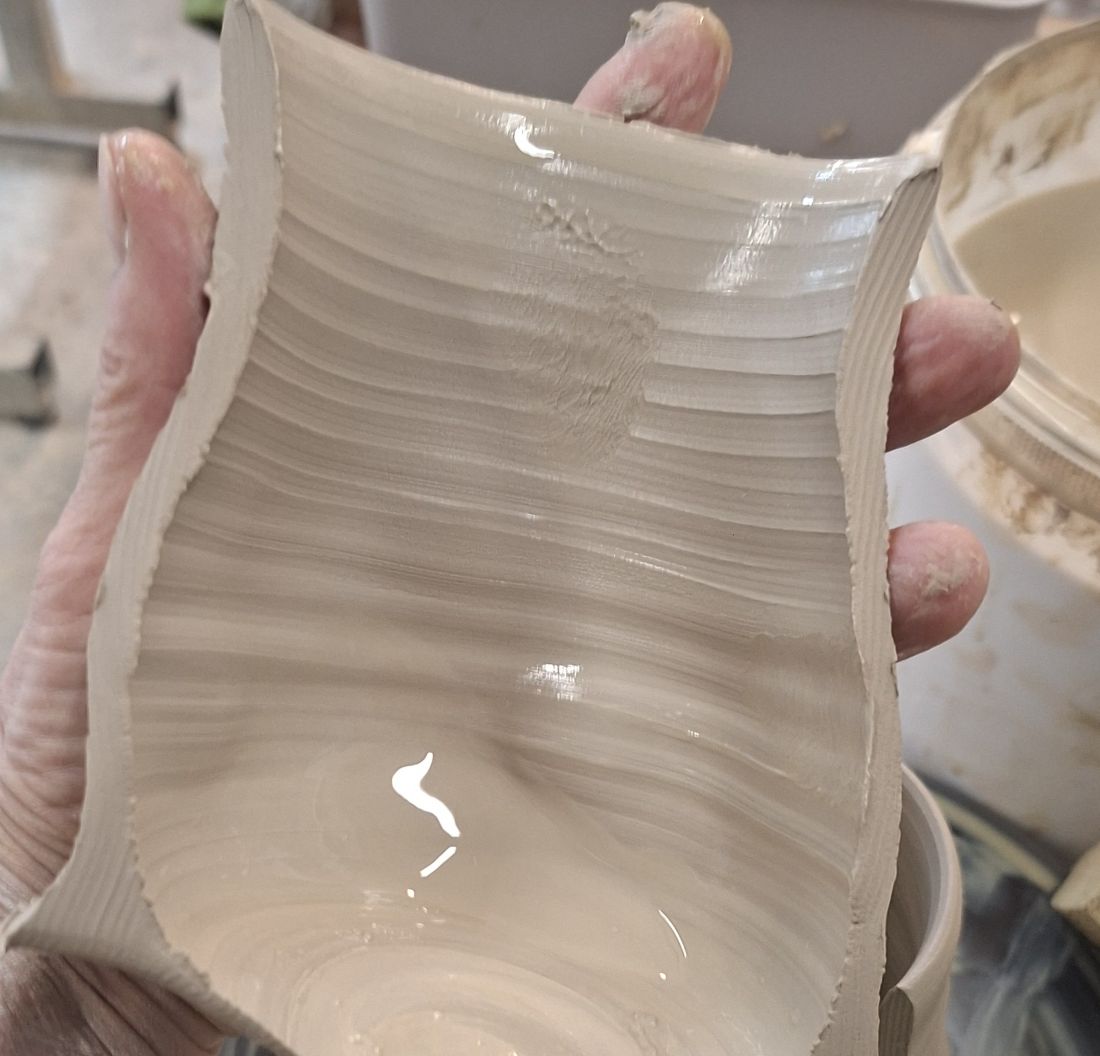
- Don’t cling to every piece: Feel free to cut a vessel in half. That way you see how even your wall and base really are.
- Practice regularly: Short, regular sessions get you further than rare, long ones.
- Enjoy the moment: At the pottery wheel, you can’t think about anything else. For me, it’s one of the nicest ways to switch off and fully arrive in the moment.
Roll up your sleeves and get stuck into the clay. I’d love for you to give it a try.

Pottery Wheel for Beginners – FAQ
Discover classes of Taschas Töpfer Küche kreative Kleinkeramik & Workshops


You may also be interested in:


