Table of contents
- 1. Night Photography Tips: How Do I Take Photos at Night?
- 2. What Settings Work Well for Night Photography?
- 3. Where Do I Find My Camera's Night Mode?
- 4. What Equipment Do You Need for Night Photography?
- 5. Which Camera Is Best for Night Photography?
- 6. Ideas for Night Photography: What Subjects Work Well?

FOTO-MAGU Fotodesign
Partner and writer
Night Photography – The Basics:
- A tripod and a low ISO value are essential for sharp night shots without blur.
- Use manual focus and turn off image stabilization.
- A fast lens improves the quality of your night photos, especially in low light.
- Patience and creativity are the key to stunning photos with unique lighting effects.
- Join my night photography class and learn the basics of night photography.
Night photography captivates through its unique atmosphere and the chance to capture images with fascinating plays of light. With the right settings for night shots and a bit of patience, you can create impressive photos that show both cities and nature in a whole new light. Whether you want to photograph the starry sky or capture exciting city lights, these night photography tips will help you take extraordinary shots in the dark.
Night Photography Tips: How Do I Take Photos at Night?
- Give yourself enough time: Time and patience are probably the most important qualities you need as a photographer at night. In night photography, images are usually exposed for a long time, often several seconds.
- Flashlight or manual focus: At night, autofocus doesn't always work correctly, or struggles to find a sharp outline. It helps to light up the area you're photographing with a flashlight, or to focus manually.
- Use a tripod: Setting up your camera on a tripod shouldn't be rushed, especially in the dark.
All of these steps take time, and you should give yourself that time. Time pressure, rushing, or a quick "just real fast" don't work well with night photography.

What Settings Work Well for Night Photography?
Prepare your camera settings at home before your shoot, since finding the right buttons or settings in the dark can be a real challenge, especially when you're just starting out.
For night photography, your camera should be set to a low ISO value, for example ISO 100. This lengthens the exposure time (shutter speed), but it also significantly reduces image noise. Image noise in a photo often looks unclear, blurry, and grainy.
You should also turn off image stabilization on your lens or in the camera menu. In night photography, the camera is used on a tripod, and image stabilization actually works against you in that setup. On your camera, this feature might be called IS (Image Stabilizer) or OS (Optical Stabilizer). It should be set to "off" or "0."
If you don't have a wireless remote, remote control, or infrared remote for your camera, I recommend setting the self-timer to at least 2 seconds. This reduces motion blur caused by pressing the shutter button. Motion blur can come from movement in front of the camera, but also from movement while operating it or from the camera shaking. That's why motion blur is often called "camera shake."
Finally, select Aperture Priority mode, "A" or "AV" (Aperture-Value) on your camera. In this mode, the camera automatically sets the shutter speed, while you control the aperture value (f-stop) using a dial on your camera.
With a wide-open aperture, for example F2, the point of focus on your subject is reduced to a narrow range. So at first, it's best to choose a medium aperture like F8, which enlarges the zone of sharp focus and gives the image more overall sharpness from foreground to background.
Experiences near youSign up for the newsletter now and get exclusive discounts on over 609 experiences near you, straight to your inbox.


Where Do I Find My Camera's Night Mode?
Some camera manufacturers include a built-in night mode, usually marked with a moon or star icon.
But in the more advanced creative modes, you'll have far more control. For example, you can deliberately set the aperture, and with it the depth of field. This makes your night photos more vivid and interesting.
For long exposures over 30 seconds, most cameras have a so-called "BULB mode." To use it, select "M" (Manual mode) and set the shutter speed (t) to less than 30 seconds. You'll see a "B" or "BULB" icon on the display. Some cameras have BULB mode built directly into the mode dial.
In BULB mode, the exposure continues for as long as you hold down the shutter button.
Tip: Some wireless remotes, remote controls, or infrared remotes have a lock button that keeps the shutter pressed until you release it.

What Equipment Do You Need for Night Photography?
- A camera for night shots: DSLR, mirrorless, or bridge camera.
- Batteries: Fully charged batteries are an absolute must alongside your camera. In long exposures especially, battery drain can be considerably higher due to longer exposure times and the resulting extended use of the sensor.
- A tripod: A tripod, such as a three-legged model with foldable legs, is also essential.
- Quick-release plate: Your camera should stay steady even in wind. One tip is to use a compatible quick-release plate, ideally Arca Swiss compatible. This is a common standard for many plates and tripod heads and allows you to quickly mount your camera onto a tripod. A flash isn't needed.
- Remote shutter release (optional): A remote shutter release (cable, wireless, or infrared) is recommended as an optional accessory for your camera.
- Flashlight or torch: A flashlight or torch is also helpful in the dark, whether for finding a button or two, or swapping out the battery and lens.
- A lens for night shots: As a beginner, a "standard zoom lens" is enough to start with. But if you want to capture the starry sky clearly, or the northern lights, you'll need a fast lens. These are recognizable by their low maximum aperture, for example F2.0.
Which Camera Is Best for Night Photography?
Good news: price isn't the deciding factor here, since almost all cameras perform well at low ISO. For creative freedom, though, I recommend a DSLR or mirrorless camera of your choice for night photography.
With these cameras, you can "play" more with the lens, for example by shifting the focal length during a single shot. This creates what I like to call a "zoom effect" in the image. Less is often more here, since many "automatic modes" prevent this kind of manual intervention.
Ideas for Night Photography: What Subjects Work Well?
- In general, many subjects that are directly or indirectly lit work well.
- Night shots in cities are especially impressive, here you can photograph lights or capture breathtaking cityscapes at night.
- Even small details like spider webs or mushrooms in the forest can become an exciting photo with a bit of light.
- Also look out for reflections in water, or create your own light with a flashlight.
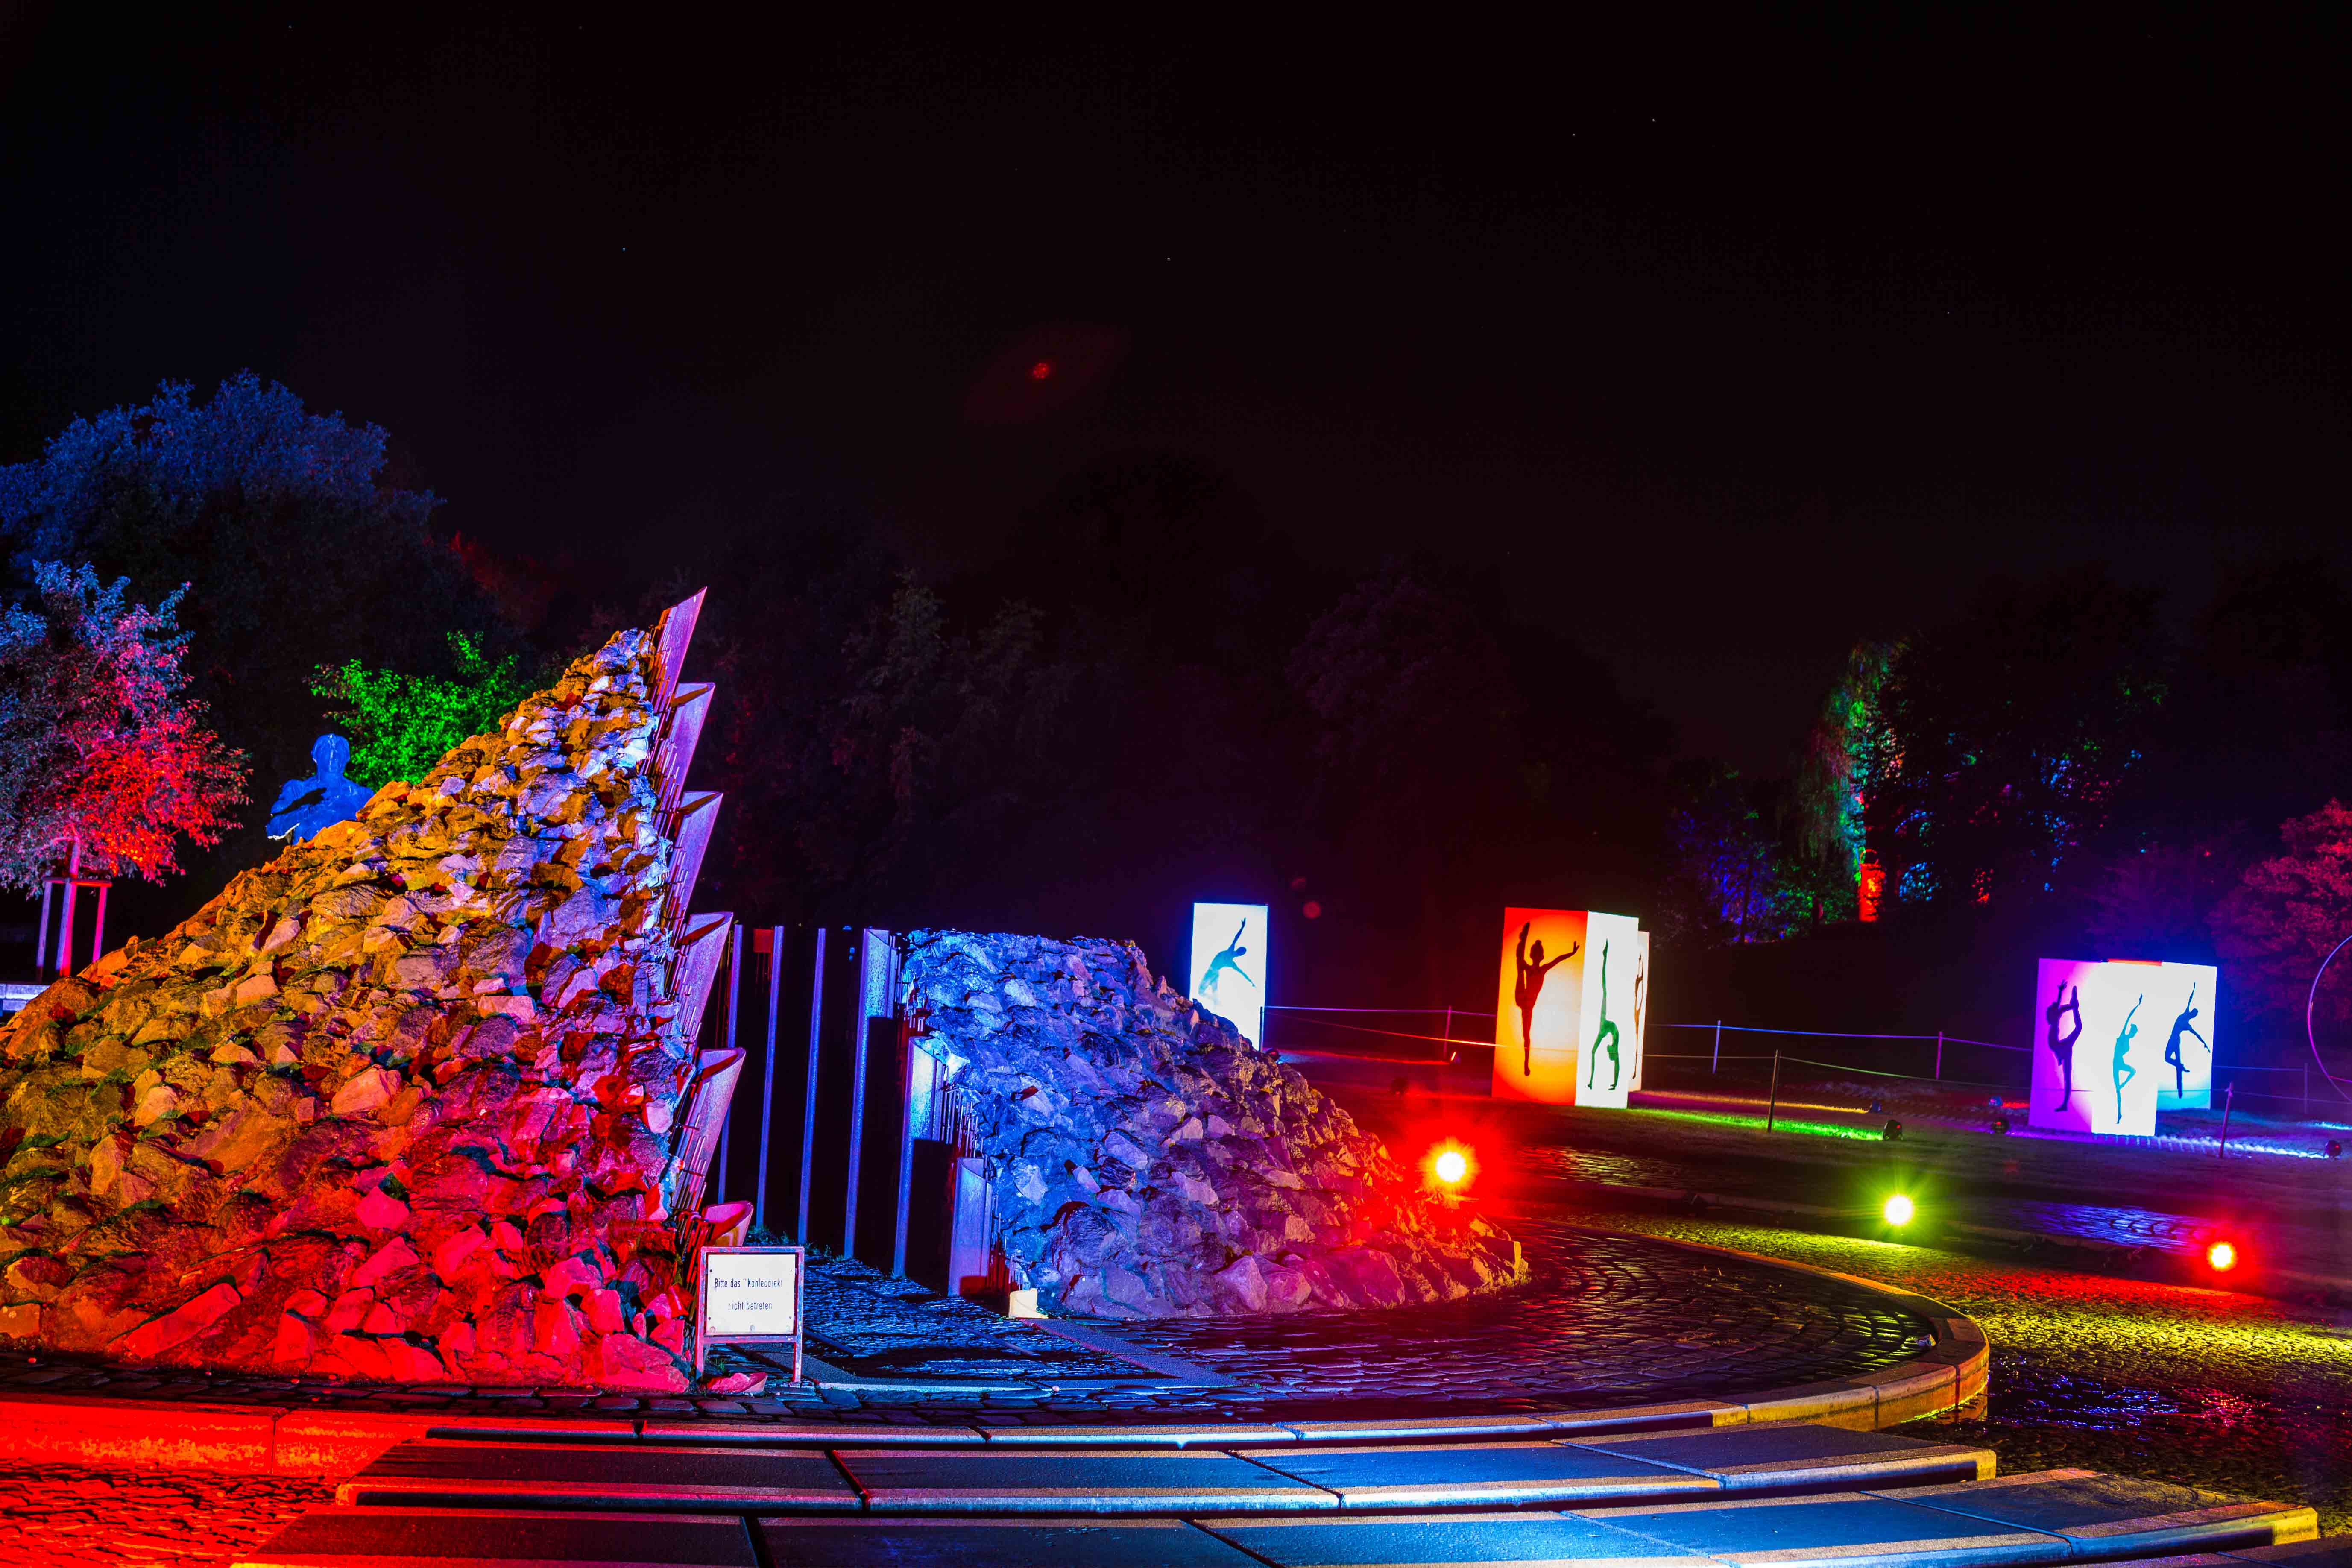
My absolute favorite for night photography is the annual Autumn Lights event at Maxipark. An entire park gets illuminated: former industrial mining halls, trees and plants, and sculptures all bathed in colorful light. Every year, the reflections on the lake are simply mesmerizing.

A tip to try at home: Use long exposure and a flashlight with diffused light to "paint" a heart in the air. You can easily create diffused light using a tissue, a diffuser panel, or the yellow shell from a surprise egg.


Night Photography – FAQ
Discover classes of FOTO-MAGU Fotodesign